About
About the Nureva Wall
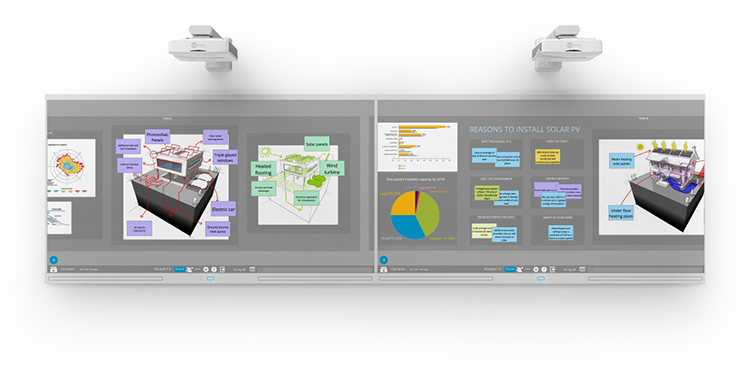
Create a collaborative workspace tailored to your team’s needs. The Nureva Wall WM408i system combines a capacitive touch surface with an ultra-short-throw HD projector to give highly collaborative teams the tools they need to deliver breakthrough results.
 Install the Nureva Wall system on almost any wall |
 The presence detector quickly turns on the system |
 The touch panels have a low profile with a sleek design |
|
One size never fits all With the Nureva Wall, it doesn’t have to. Create a collaborative workspace tailored to your team’s needs. Nureva Wall configurations can be as small as 7' 6" (2.30 m) wide or as large as 60' (18.29 m) wide. |
Install
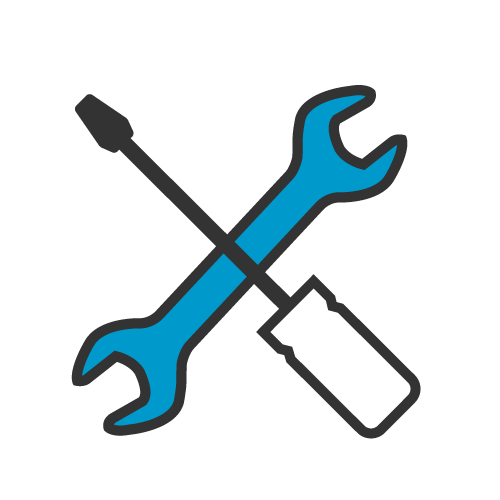
Installing your Nureva Wall
The following documents can help you have a successful installation with your Nureva Wall: |
| Installation documents |
|
Installation guide and drawings Aligning your projected image W408i user manual Setting up touch |
Videos
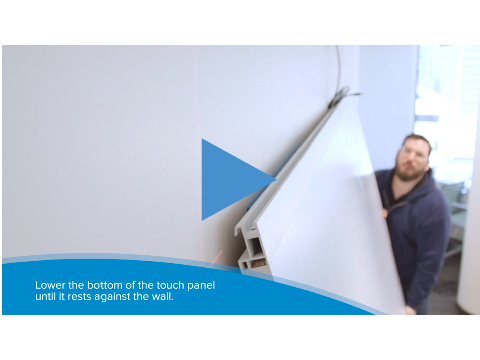 |
Installing the WM408i | |
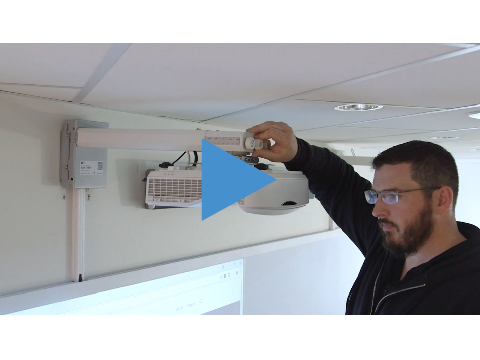 |
Aligning your projector | |
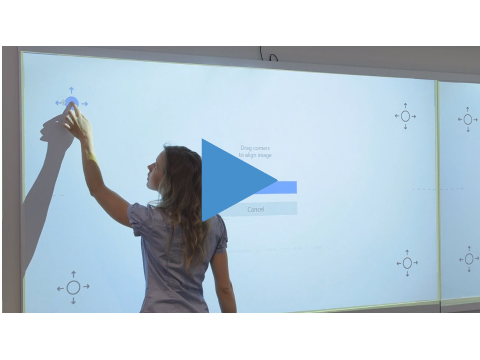 |
Setting up touch |
Other installation considerations
Download
Downloading Nureva Room ManagerOnce you've installed your Nureva Wall, don't forget to
Nureva Room Manager manages your Nureva Wall's | |
|
● System matching ● Image alignment ● Touch calibration |
● Presence detection ● Sleep timer |

Resources
| ⛑ | Basic troubleshooting |
- My landed image is a few inches off
- Touch isn't working on the Nureva Wall
- There's no image on the screen
- I'm not getting a USB touch or connection (USB not recognized error)
- The projected image flickers
- PowerPoint™ is making my display turn black
- Touch is inaccurate
- "Legacy touch driver exists" error message
- I'm getting a sleep error message
- Image alignment worked on the wrong display
- My projected image is blurry
- Nureva Room Manager isn't showing Nureva Wall
- Where can I find the serial number on my Nureva Wall WM408i?
| ⛏ | Installation and setup |
- Installation guide
- Quick start guide
- Installation drawings
- Hardware tools checklist
- Setting up touch
- Aligning your image
- Focusing your image
- Image brightness and color correction
- What kind of HDMI cables should I use?
- Can I use an HDMI adapter?
- Which are the best USB extenders to use with the Nureva Wall?
- How long is the power cord for the touch panel?
- Can I use a different adapter for the touch panel?
- Which country power adapters are included with the WM408i?
- Should I use DisplayPort™ or HDMI cabling with my Nureva Wall?
- Can I use the DisplayLink® (USB-C) video port with the Nureva Wall?
- Technical requirements
- WM408i user manual
- Specification sheet
- Room manager features
- Orderable service parts
|
🗪 |
Frequently asked questions |
- What do the LEDs on the touch panel power button mean?
- Can I convert one of the older projectors to a WM408i system?
- How many displays can be connected to the W408i system?
- Can I use dry-erase markers on the touch panel?
- How do I clean the touch panel?
- Can I use the power button to turn off the system?
- Can I hide the RS232 cord in the wall?
- Can I use the USB ports on the control module for other USB 2.0 devices?
- How should I configure my Windows™ power saving settings?
- Does the WM408i come with a stylus?
- Can I connect my Nureva Wall PC to an additional display monitor?
- Why won't my Nureva Room Manager open matching when video extenders are used?
- How do I check for updates?
- Configuring device management
- How do I update the control module?