Windows
Nureva Console client is an application installed on a computer to manage your Nureva audio conferencing system. The app provides system configuration steps and options, and it also detects when firmware and software updates are available.
NOTE: The examples below are applicable to HDL200, HDL300, and Dual HDL300 systems.
Download and install Nureva Console client
- Download Nureva Console client
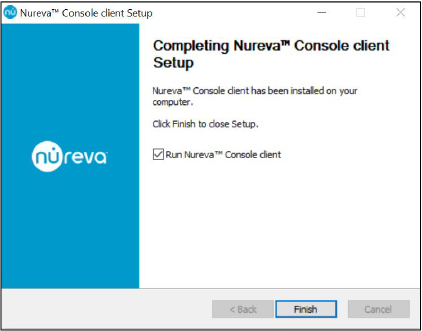
- Launch Nureva Console Client installer
- Follow the steps to complete the installation
Launch Console client
- Launch Nureva Console client
- All Nureva audio systems will be automatically detected by Nureva Console client.
NOTE: If the system is not detected, check the USB connection to the computer as well as the power connection. Additional information about connecting devices to Nureva Console.

Set Nureva audio system as the default device
To ensure the Nureva audio device is ready for conference calls it must be set as the default audio input and output device within sound settings.
- Choose Open sound settings to open the Windows sound settings

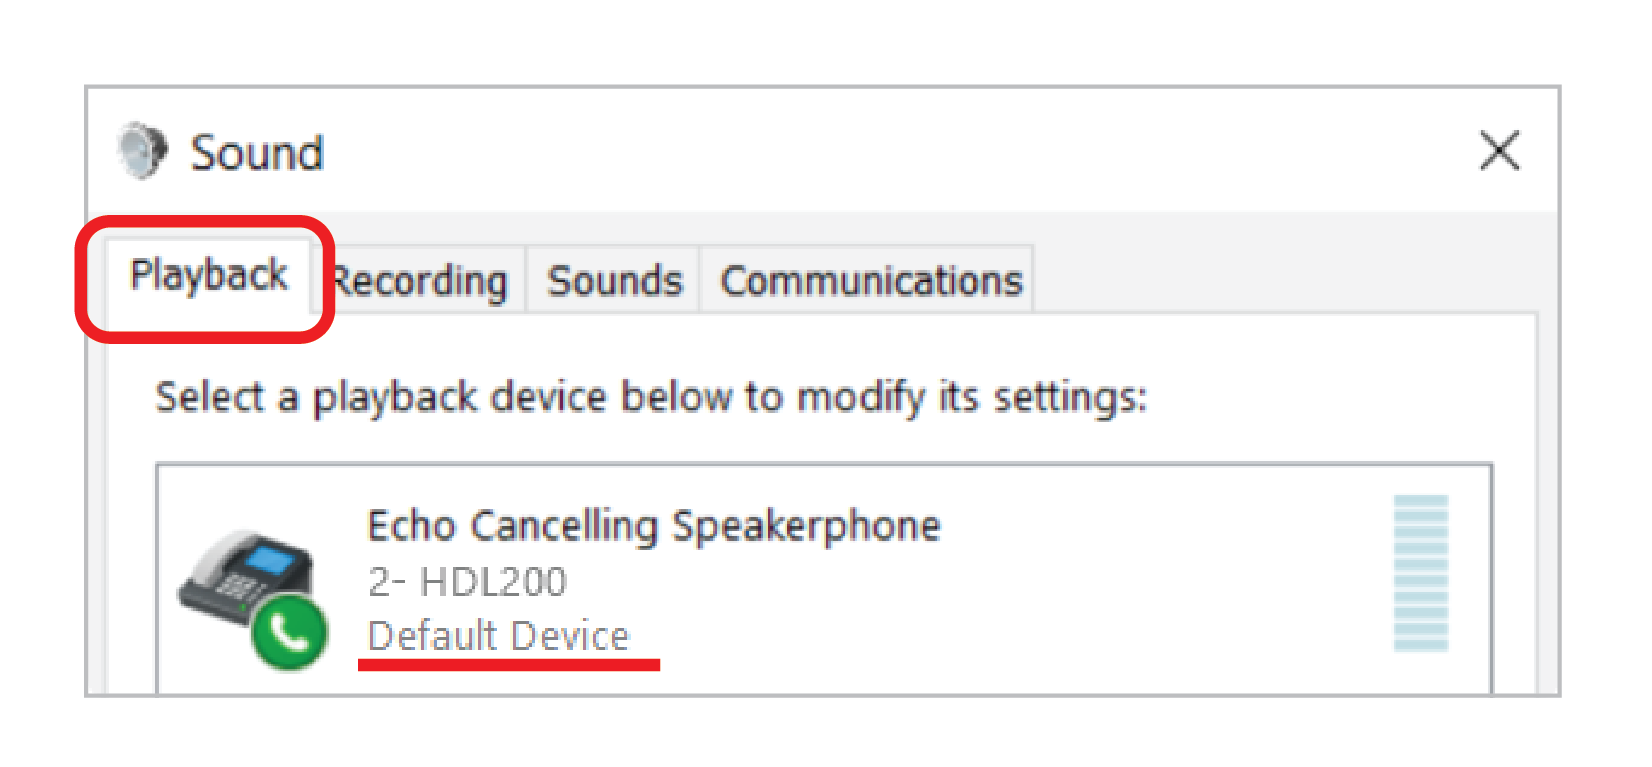
- In Windows sound settings
Select the Playback tab- Select HDL200 or HDL300 (Echo Cancelling Speakerphone)
- Using the drop-down menu at the bottom of the panel, choose Set as Default Communication device
- Select HDL200 or HDL300 (Echo Cancelling Speakerphone)
- Using the drop-down menu at the bottom of the panel, choose Set as Default device
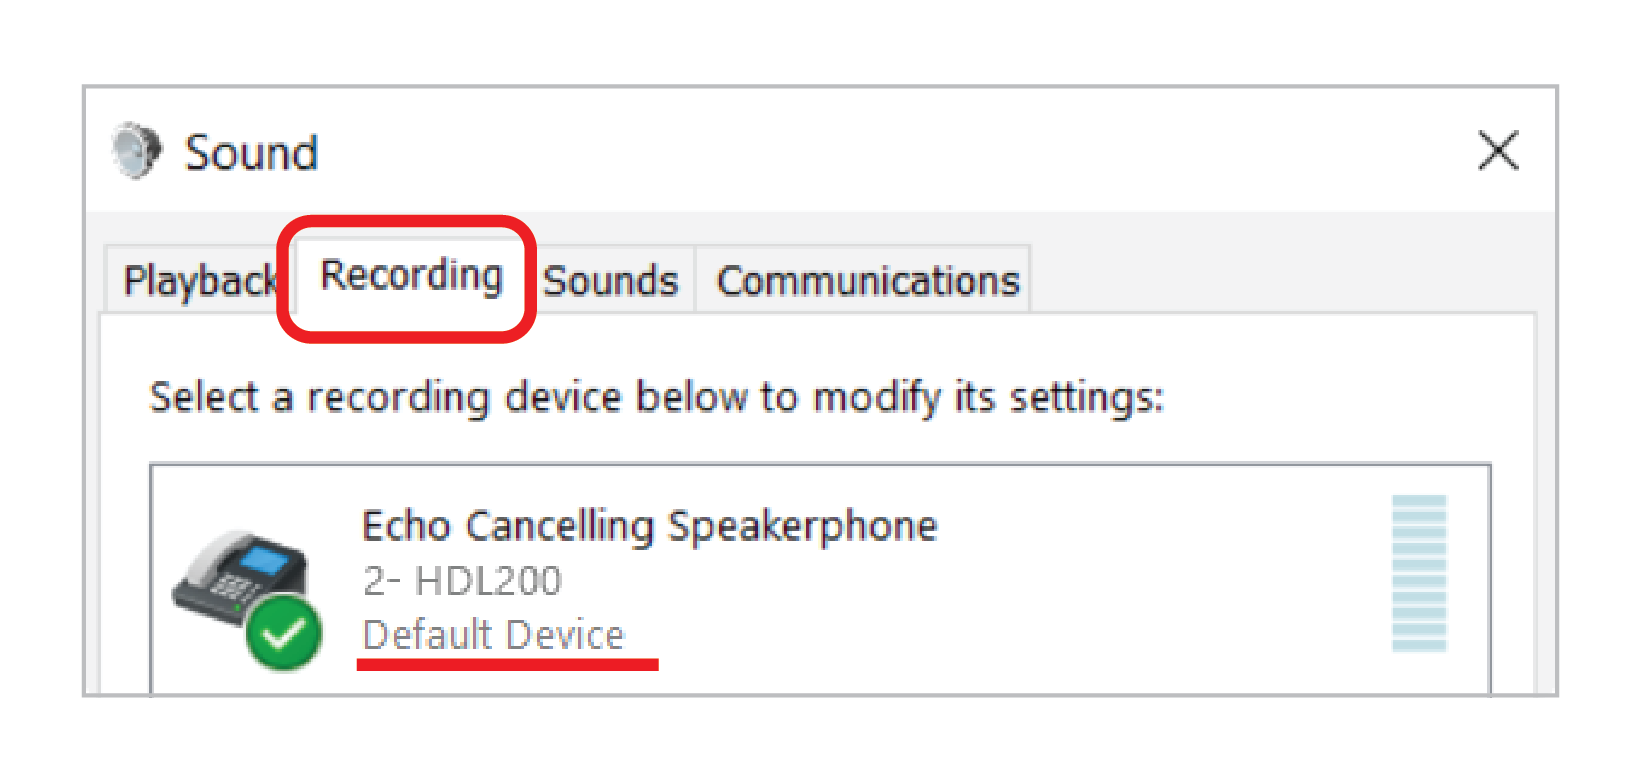
- In Windows sound settings
Select the Recording tab- Select HDL200 or HDL300 (Echo Cancelling Speakerphone)
- Using the drop-down menu at the bottom of the panel, choose Set as Default Communication device
- Select HDL200 or HDL300 (Echo Cancelling Speakerphone)
- Using the drop-down menu at the bottom of the panel, choose Set as Default device
- Once the sound settings have been set to the Nureva audio device, as shown above, return to the Nureva Console client application
- Click Next
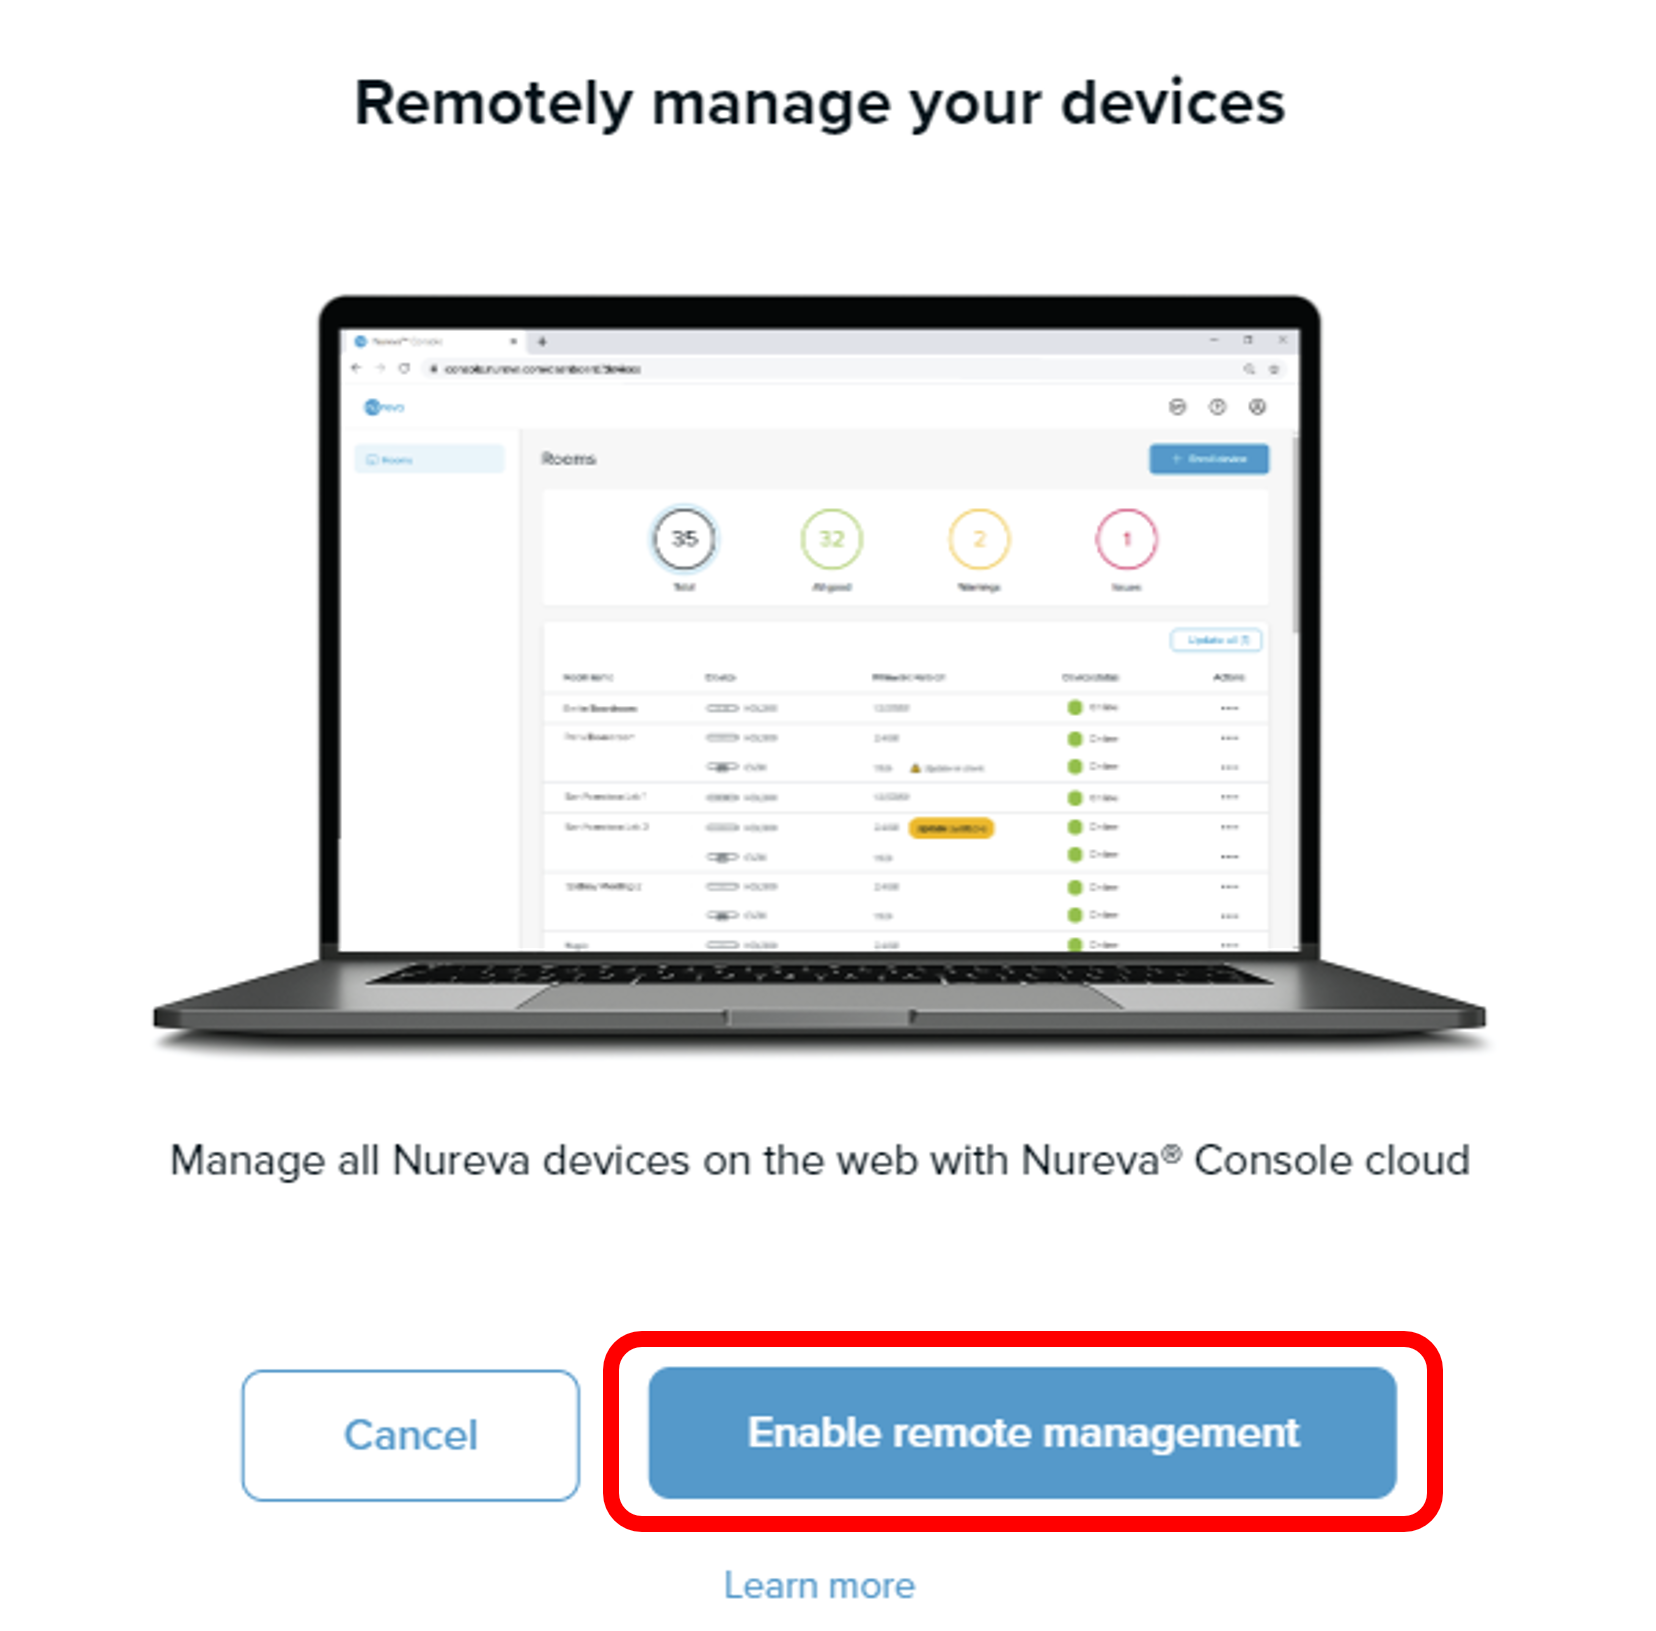
Enabling remote management
To begin, select Enable remote management at the bottom of the window.
Step 1: Select Create account and complete the steps for account creation in Nureva Console cloud using your internet browser
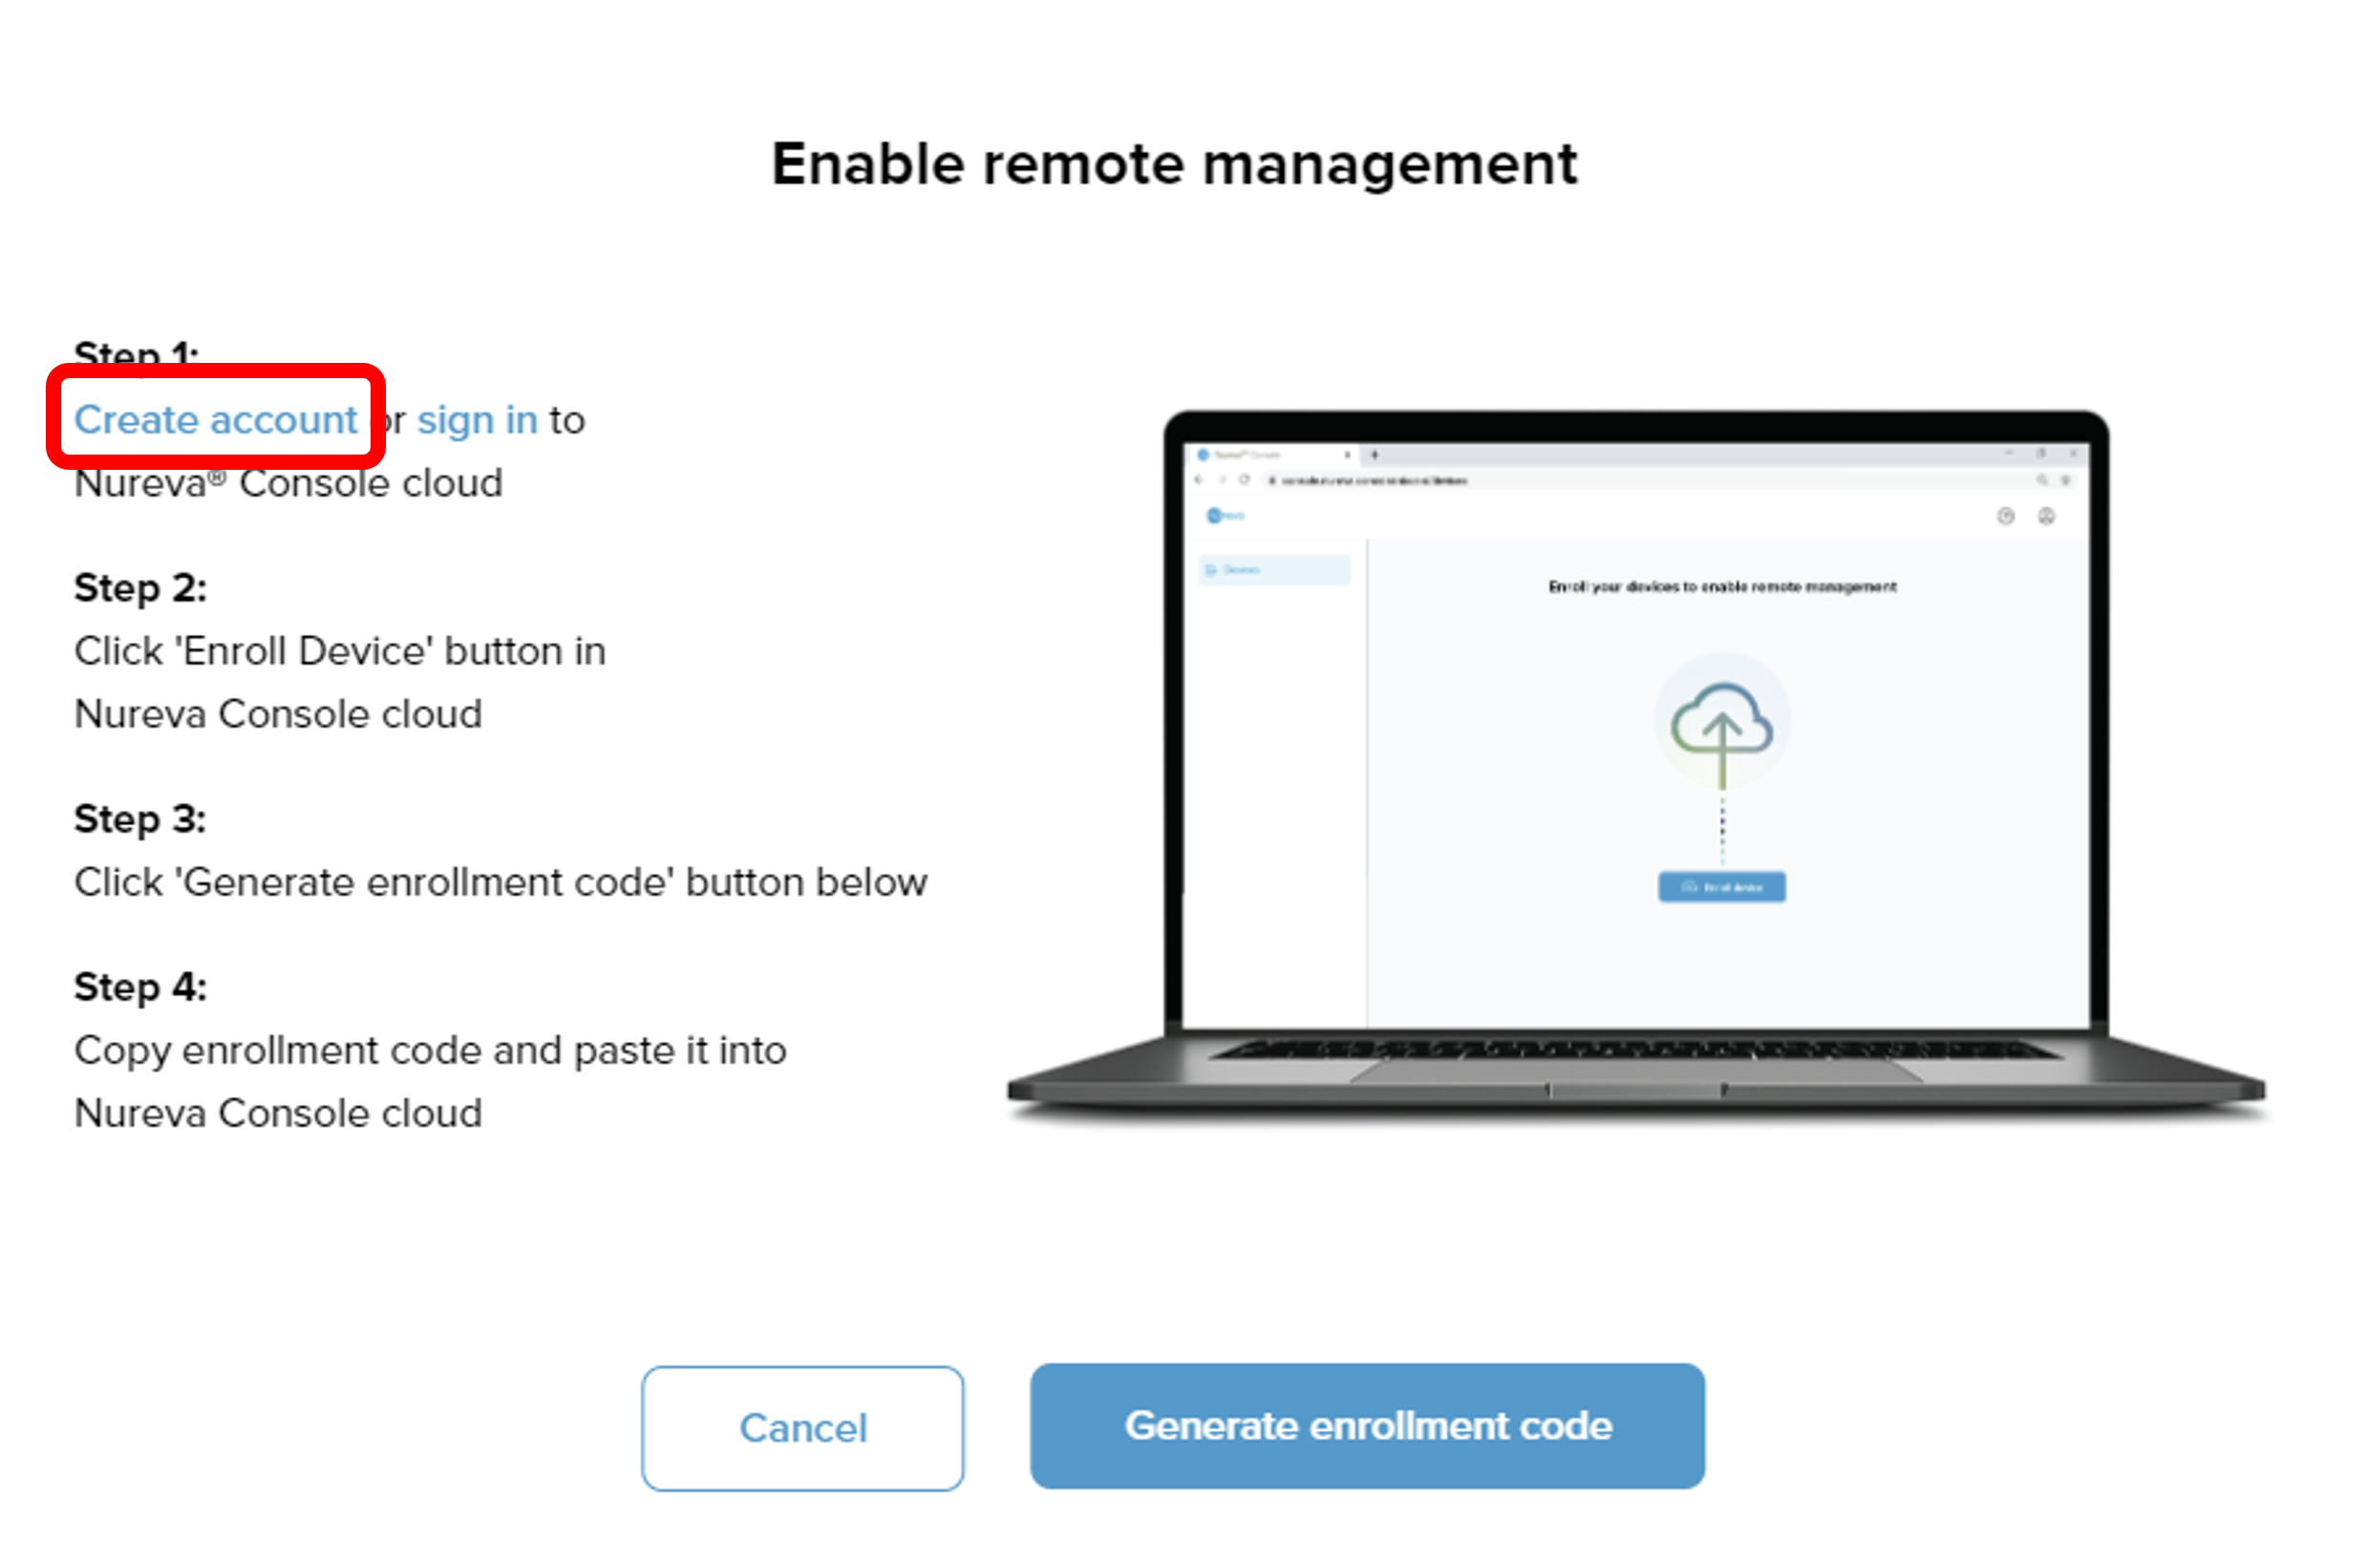
Step 2:
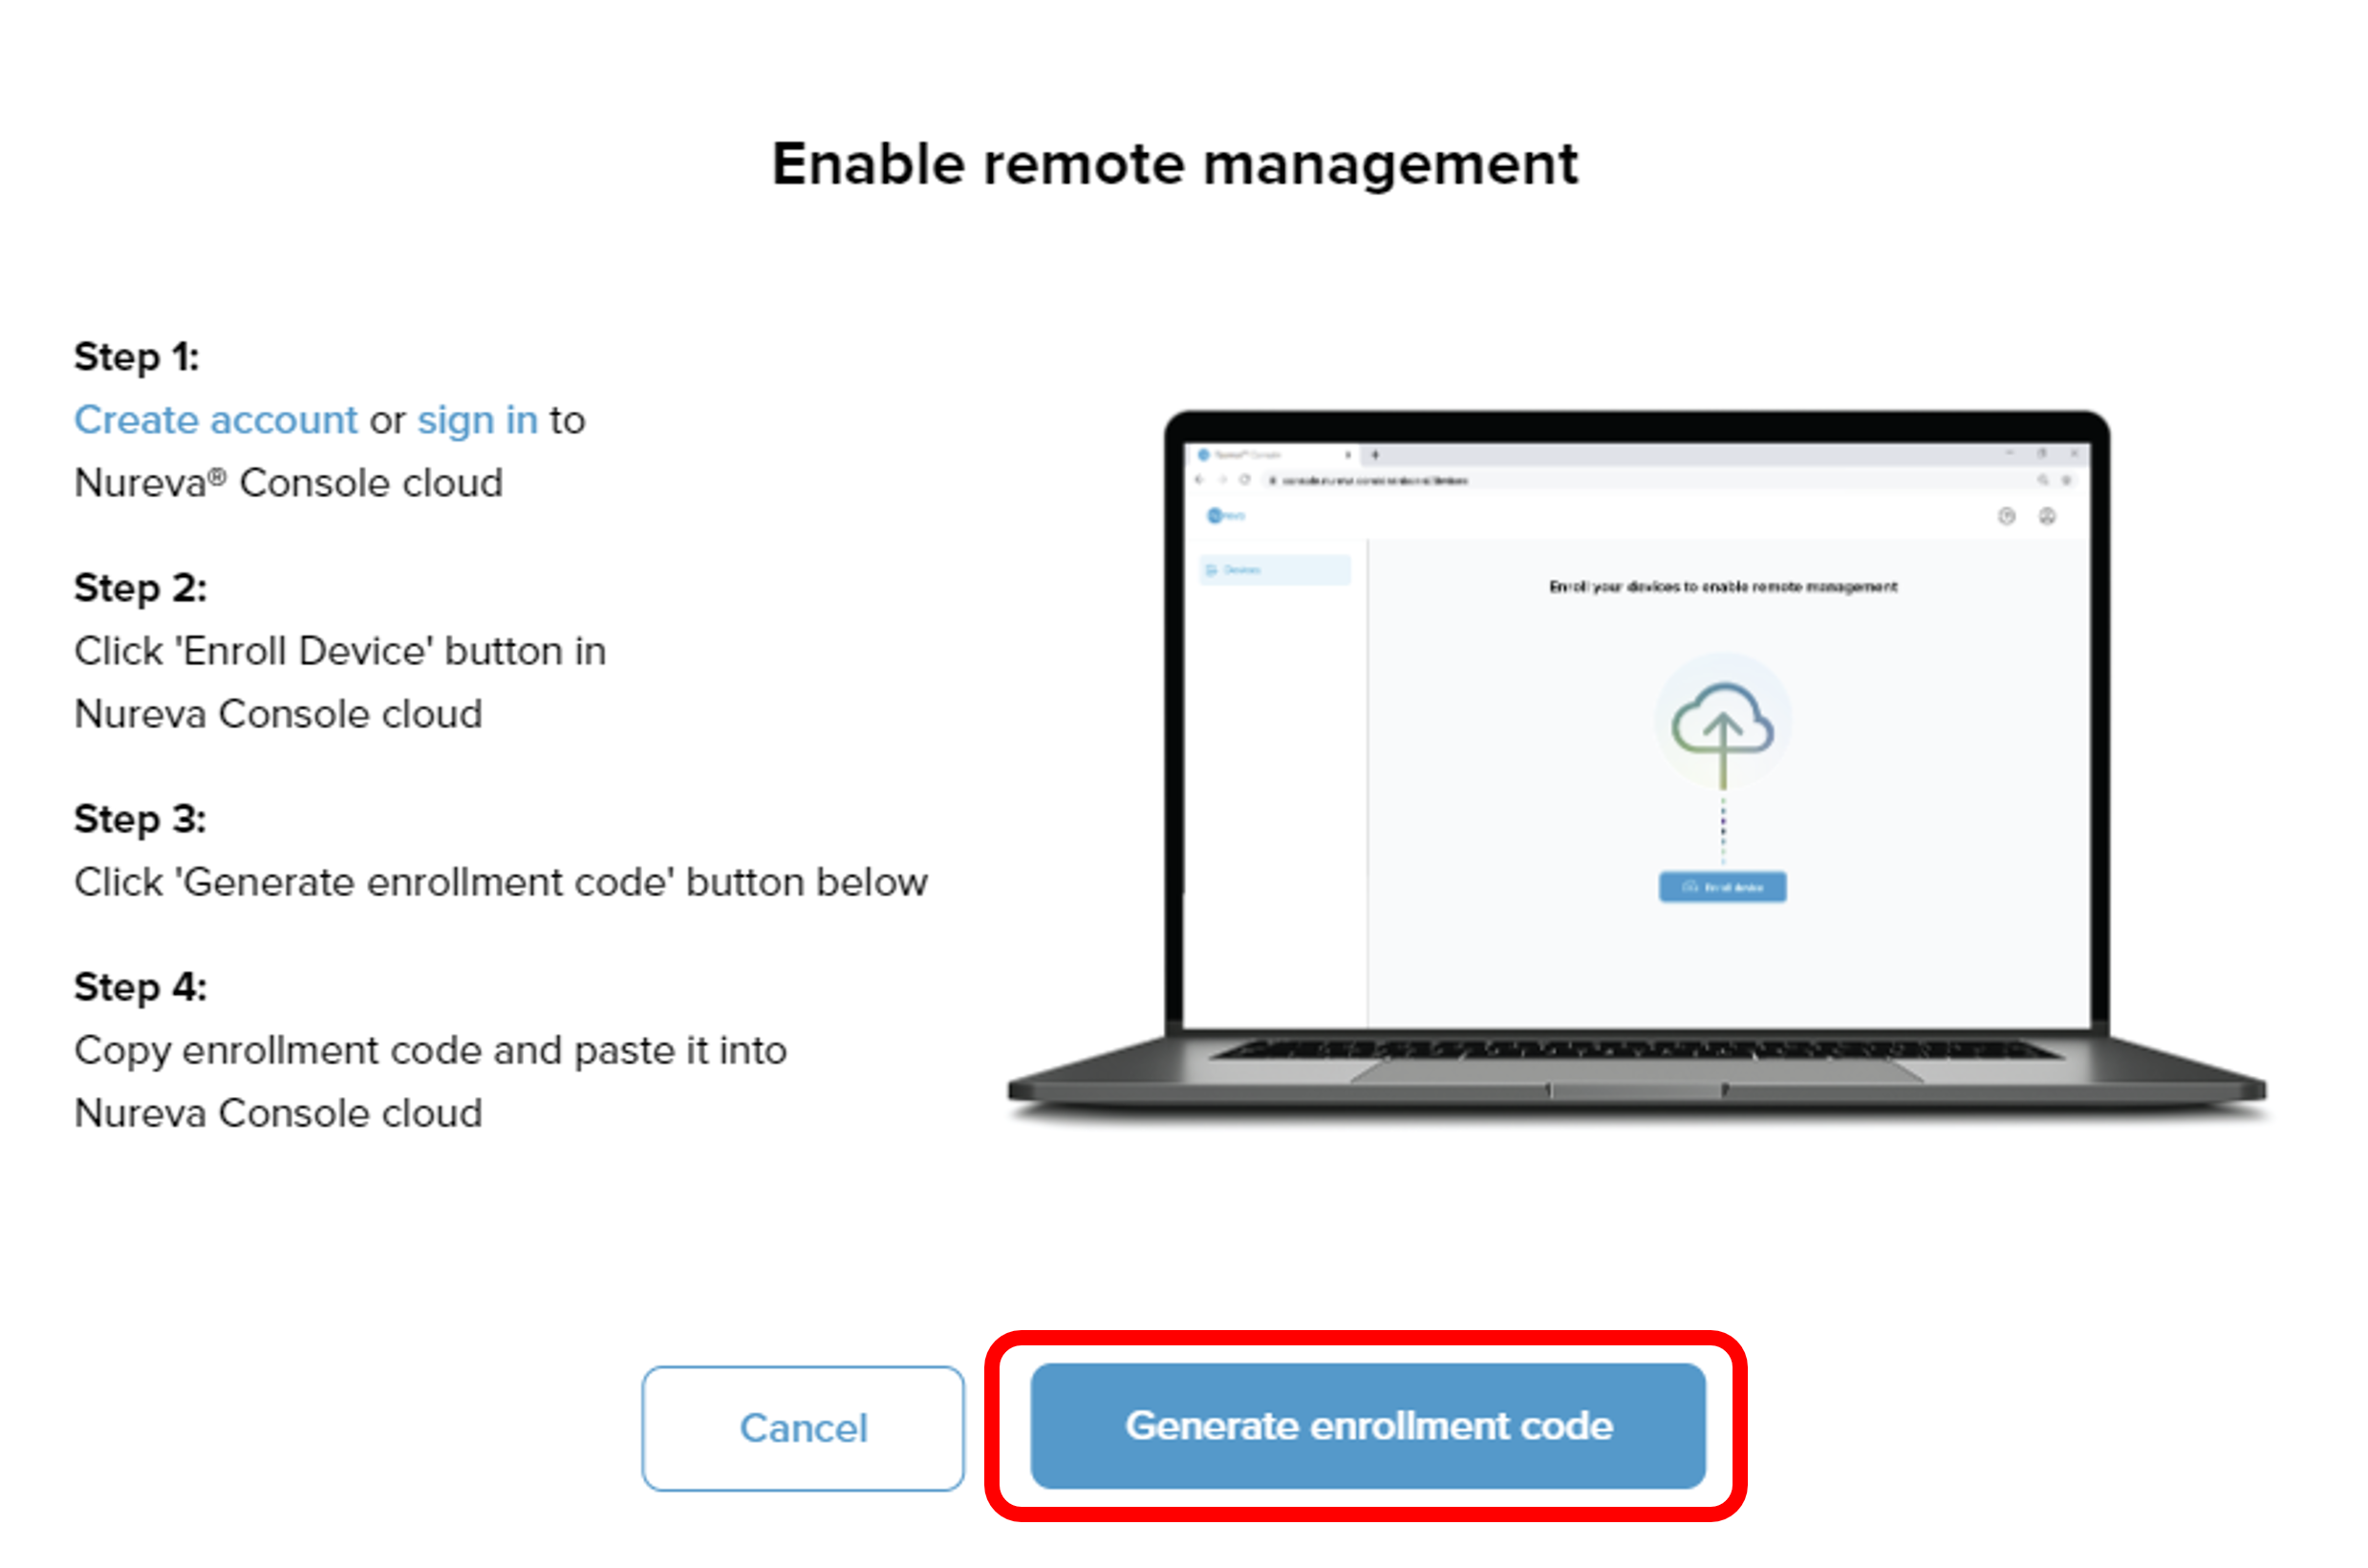
Step 4: Select Copy and paste into the "Enter code" box in Nureva Console cloud and click Next

- Select Allow from the pop-up in your browser to continue with device enrollment

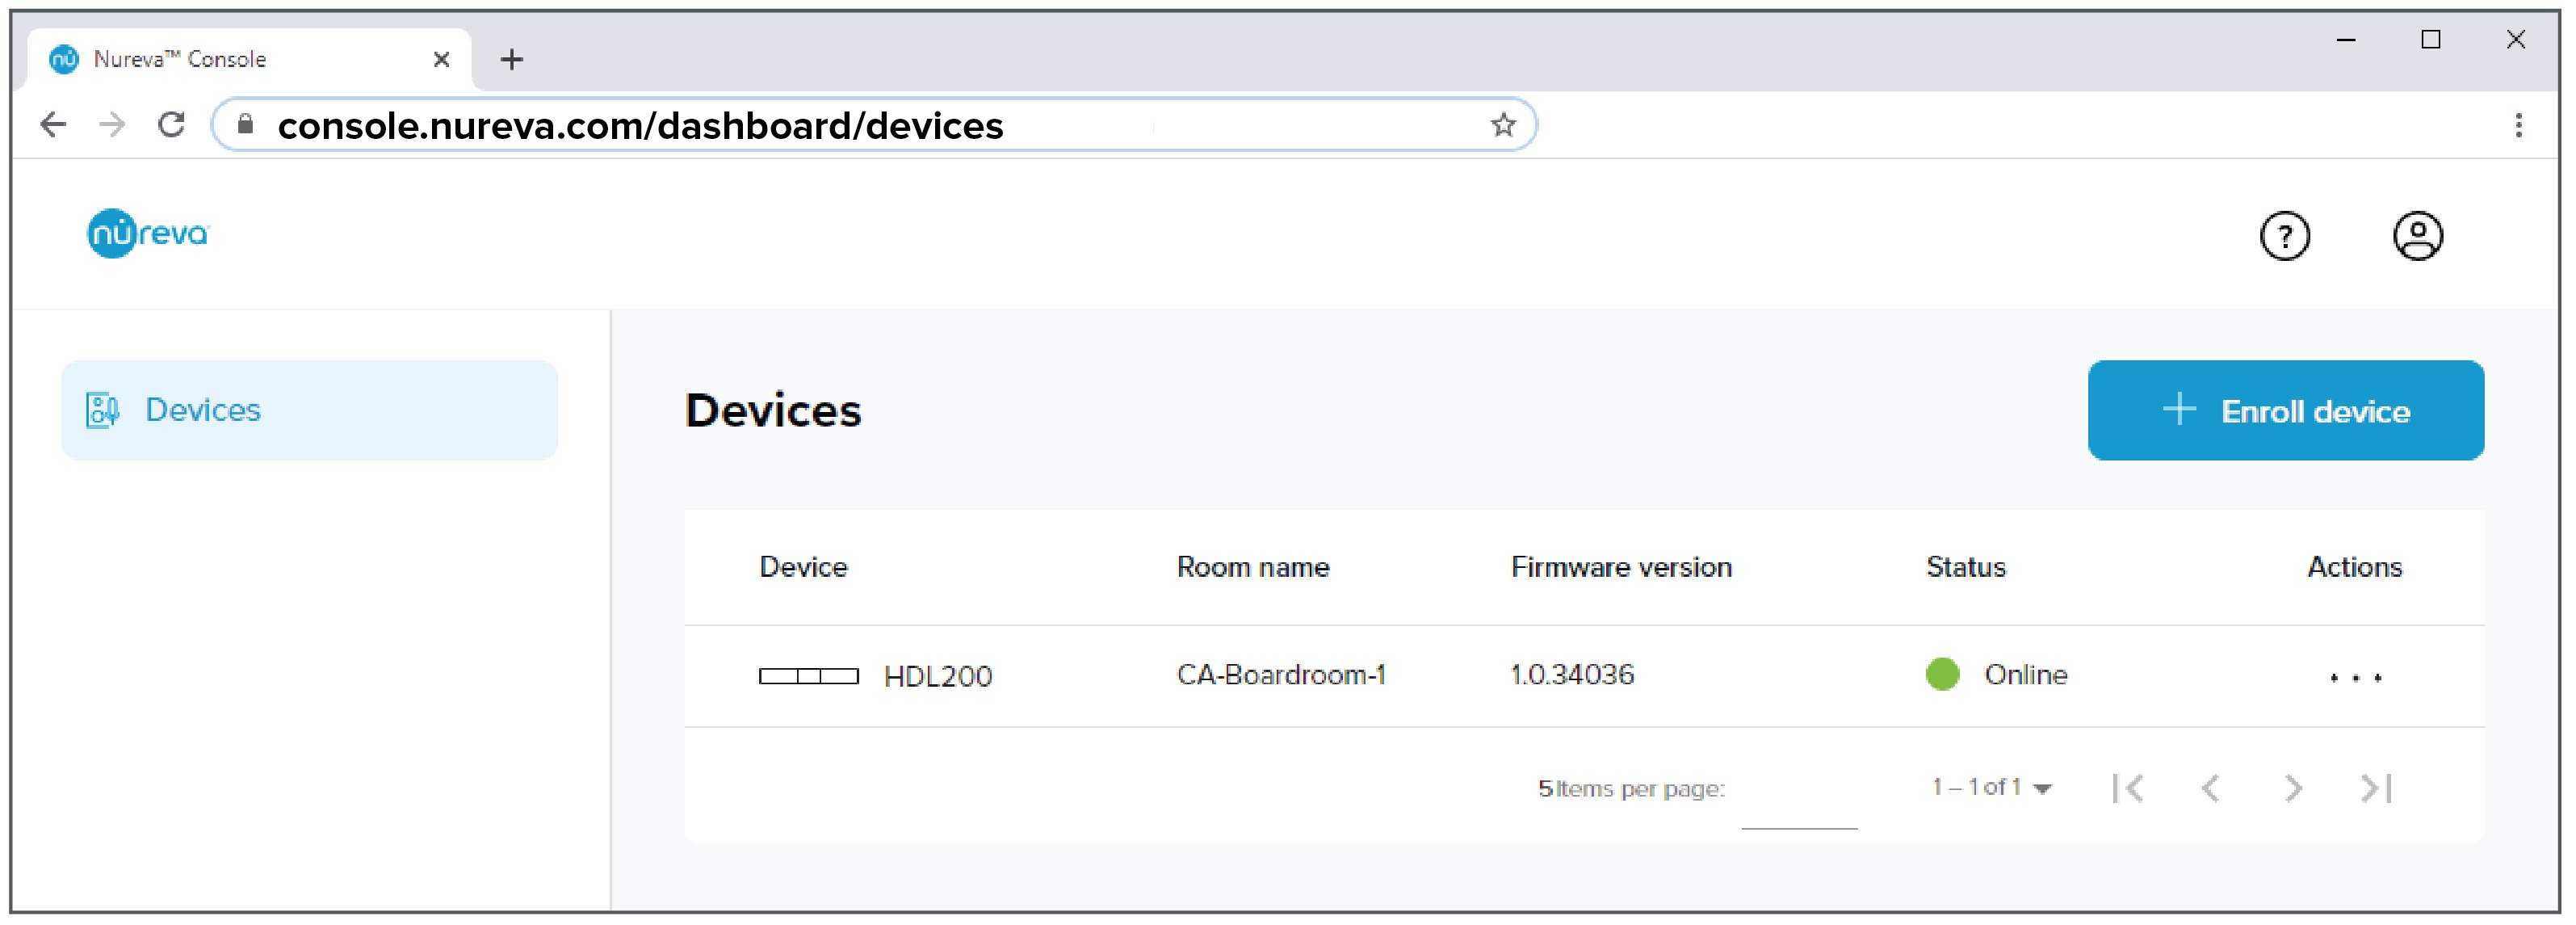
Enter some additional device details such as the room name and tags to help you identify your device within your organization.
Example room name: CA-Boardroom-1
Example tags: HDL200, Wall mounted, Floor 1, Room 502, 65"Display
- Click Save
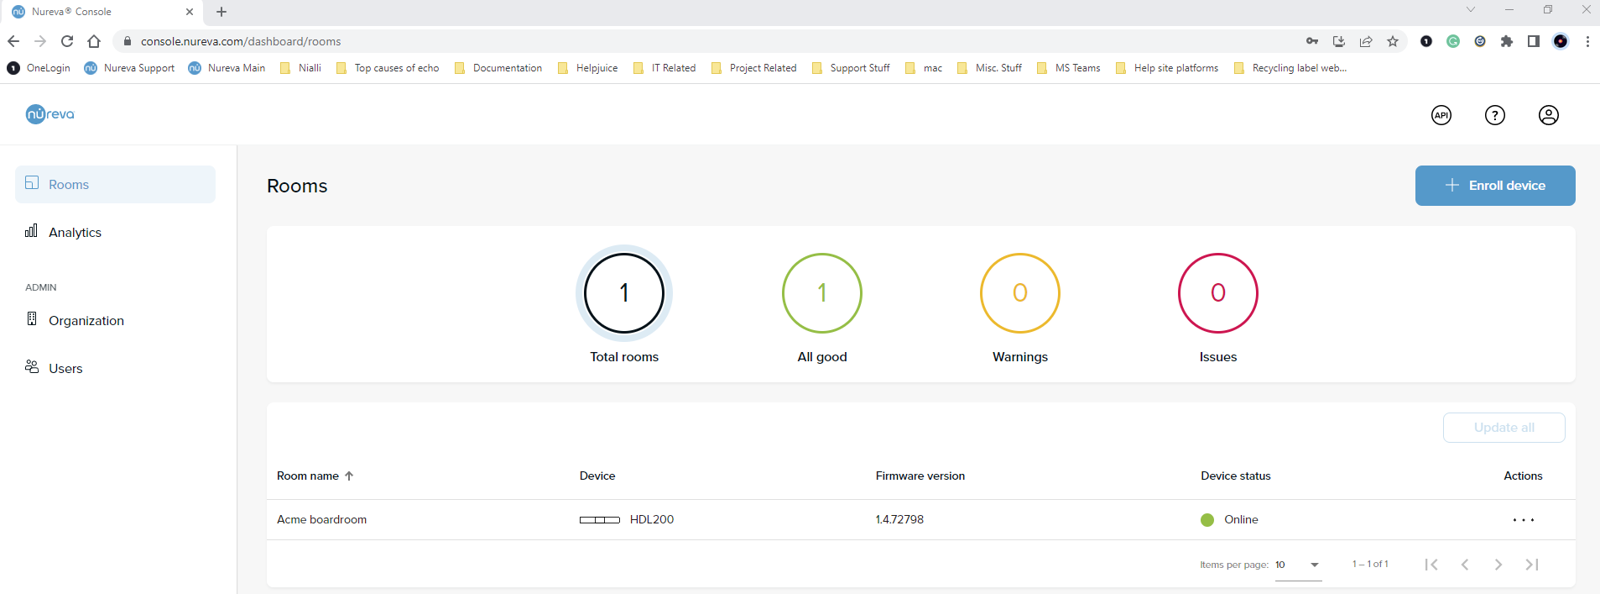
The audio device should now appear in the device list, as shown below.
macOS
Nureva Console client is an application installed on a computer to manage your Nureva audio conferencing system. The app provides system configuration steps and options, and it also detects when firmware and software updates are available.
NOTE: The examples below are applicable to HDL200, HDL300, and Dual HDL300 systems.
Download and install Nureva Console client
- Download Nureva Console client
- Launch the Nureva Console Client PKG file to install
- Follow the steps to complete the installation

Launch Console client
- Launch Nureva Console client
- All Nureva audio systems will be automatically detected by Nureva Console client.
NOTE: If the system is not detected, check the USB connection to the computer as well as the power connection. Additional information about connecting devices to Nureva Console.
- Select Continue

Set Nureva audio system as the default device
To ensure the Nureva audio device is ready for conference calls it must be set as the default audio device for both output and input tabs of the computer sound settings.
- Choose Open sound settings to open the computer sound settings
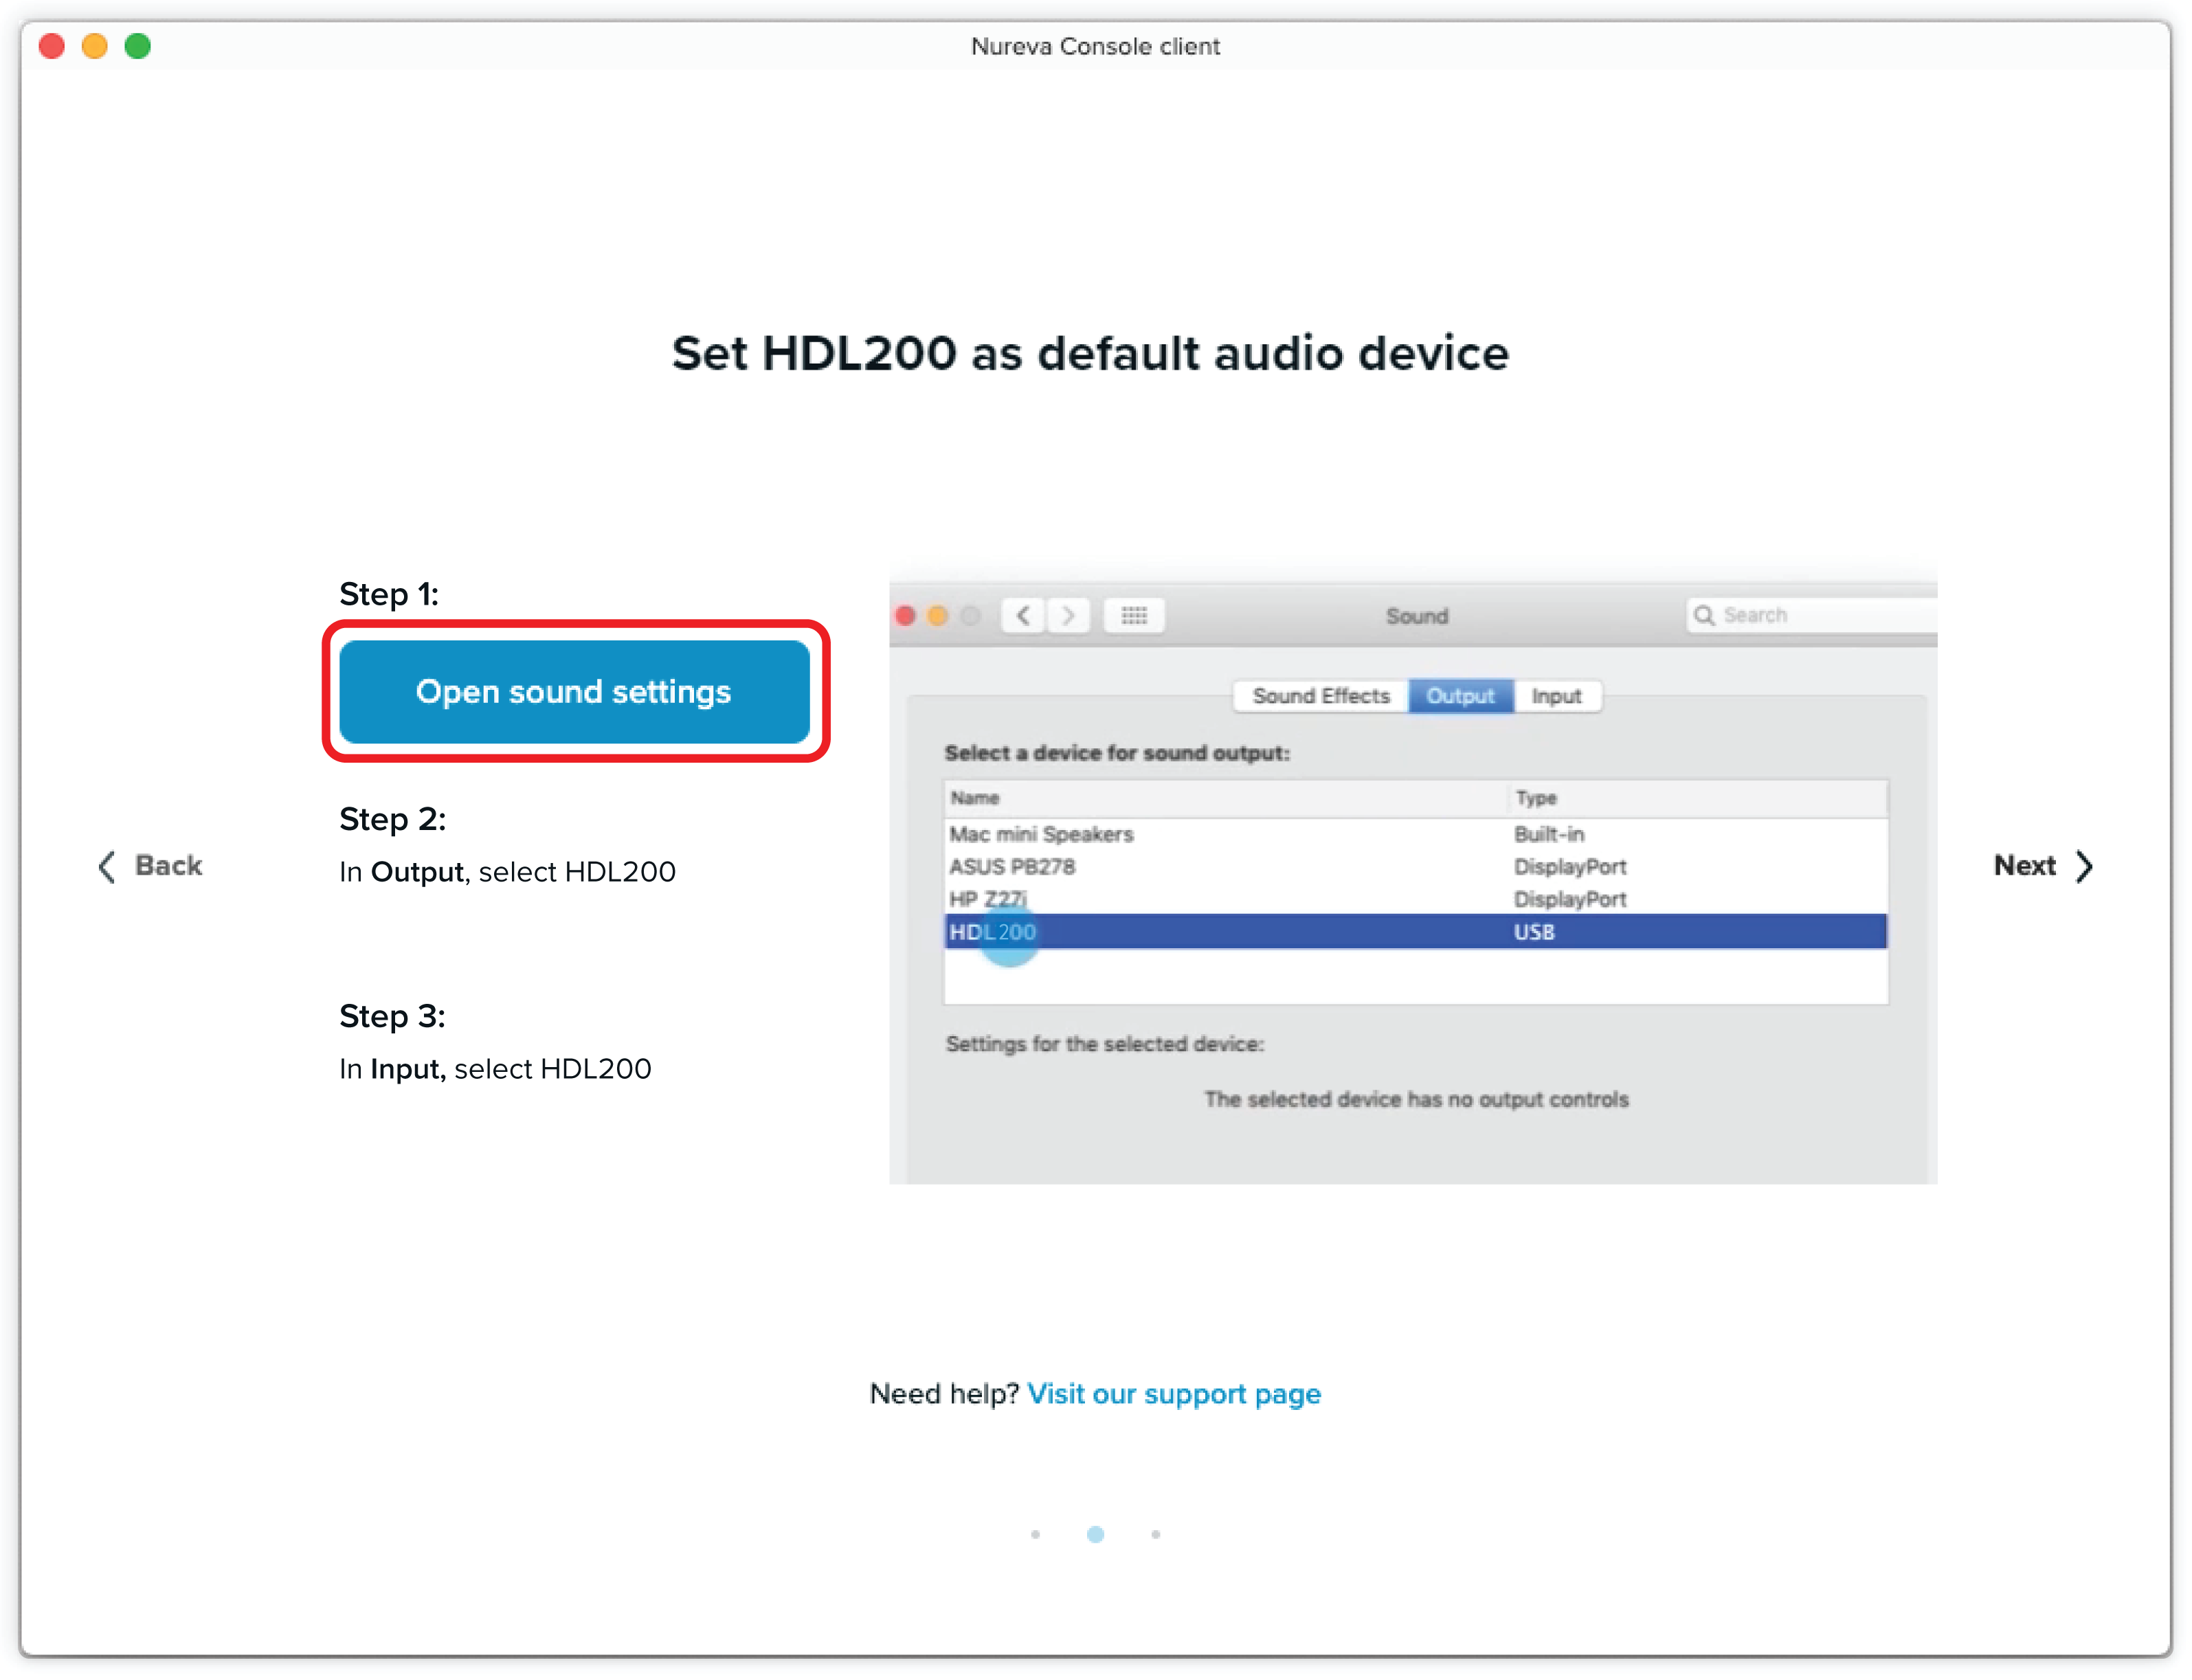
- In the sound settings
Select the Output tab- Select HDL200 or HDL300 (Echo Cancelling Speakerphone)

- Select HDL200 or HDL300 (Echo Cancelling Speakerphone)
- In the sound settings
Select the Input tab- Select HDL200 or HDL300 (Echo Cancelling Speakerphone)

- Select HDL200 or HDL300 (Echo Cancelling Speakerphone)
- Once the sound settings have been set to the Nureva audio device, as shown above, return to the Nureva Console client application
- Click “Next”
Enabling remote management
To begin, select "Enable remote management" at the bottom of the window.
Step 1: Select Create account and complete the steps for account creation in Nureva Console cloud using your internet browser
- Click on Create account
- Check your email
- A verification email will be sent to the email address
- If the email is not in your inbox, please look in the junk or spam filter
- Click on Verify in the email body
- The sign-in page will open, where you can sign in
Step 2:
Step 4: Select Copy and paste into the "Enter code" box in Nureva Console cloud and click Next
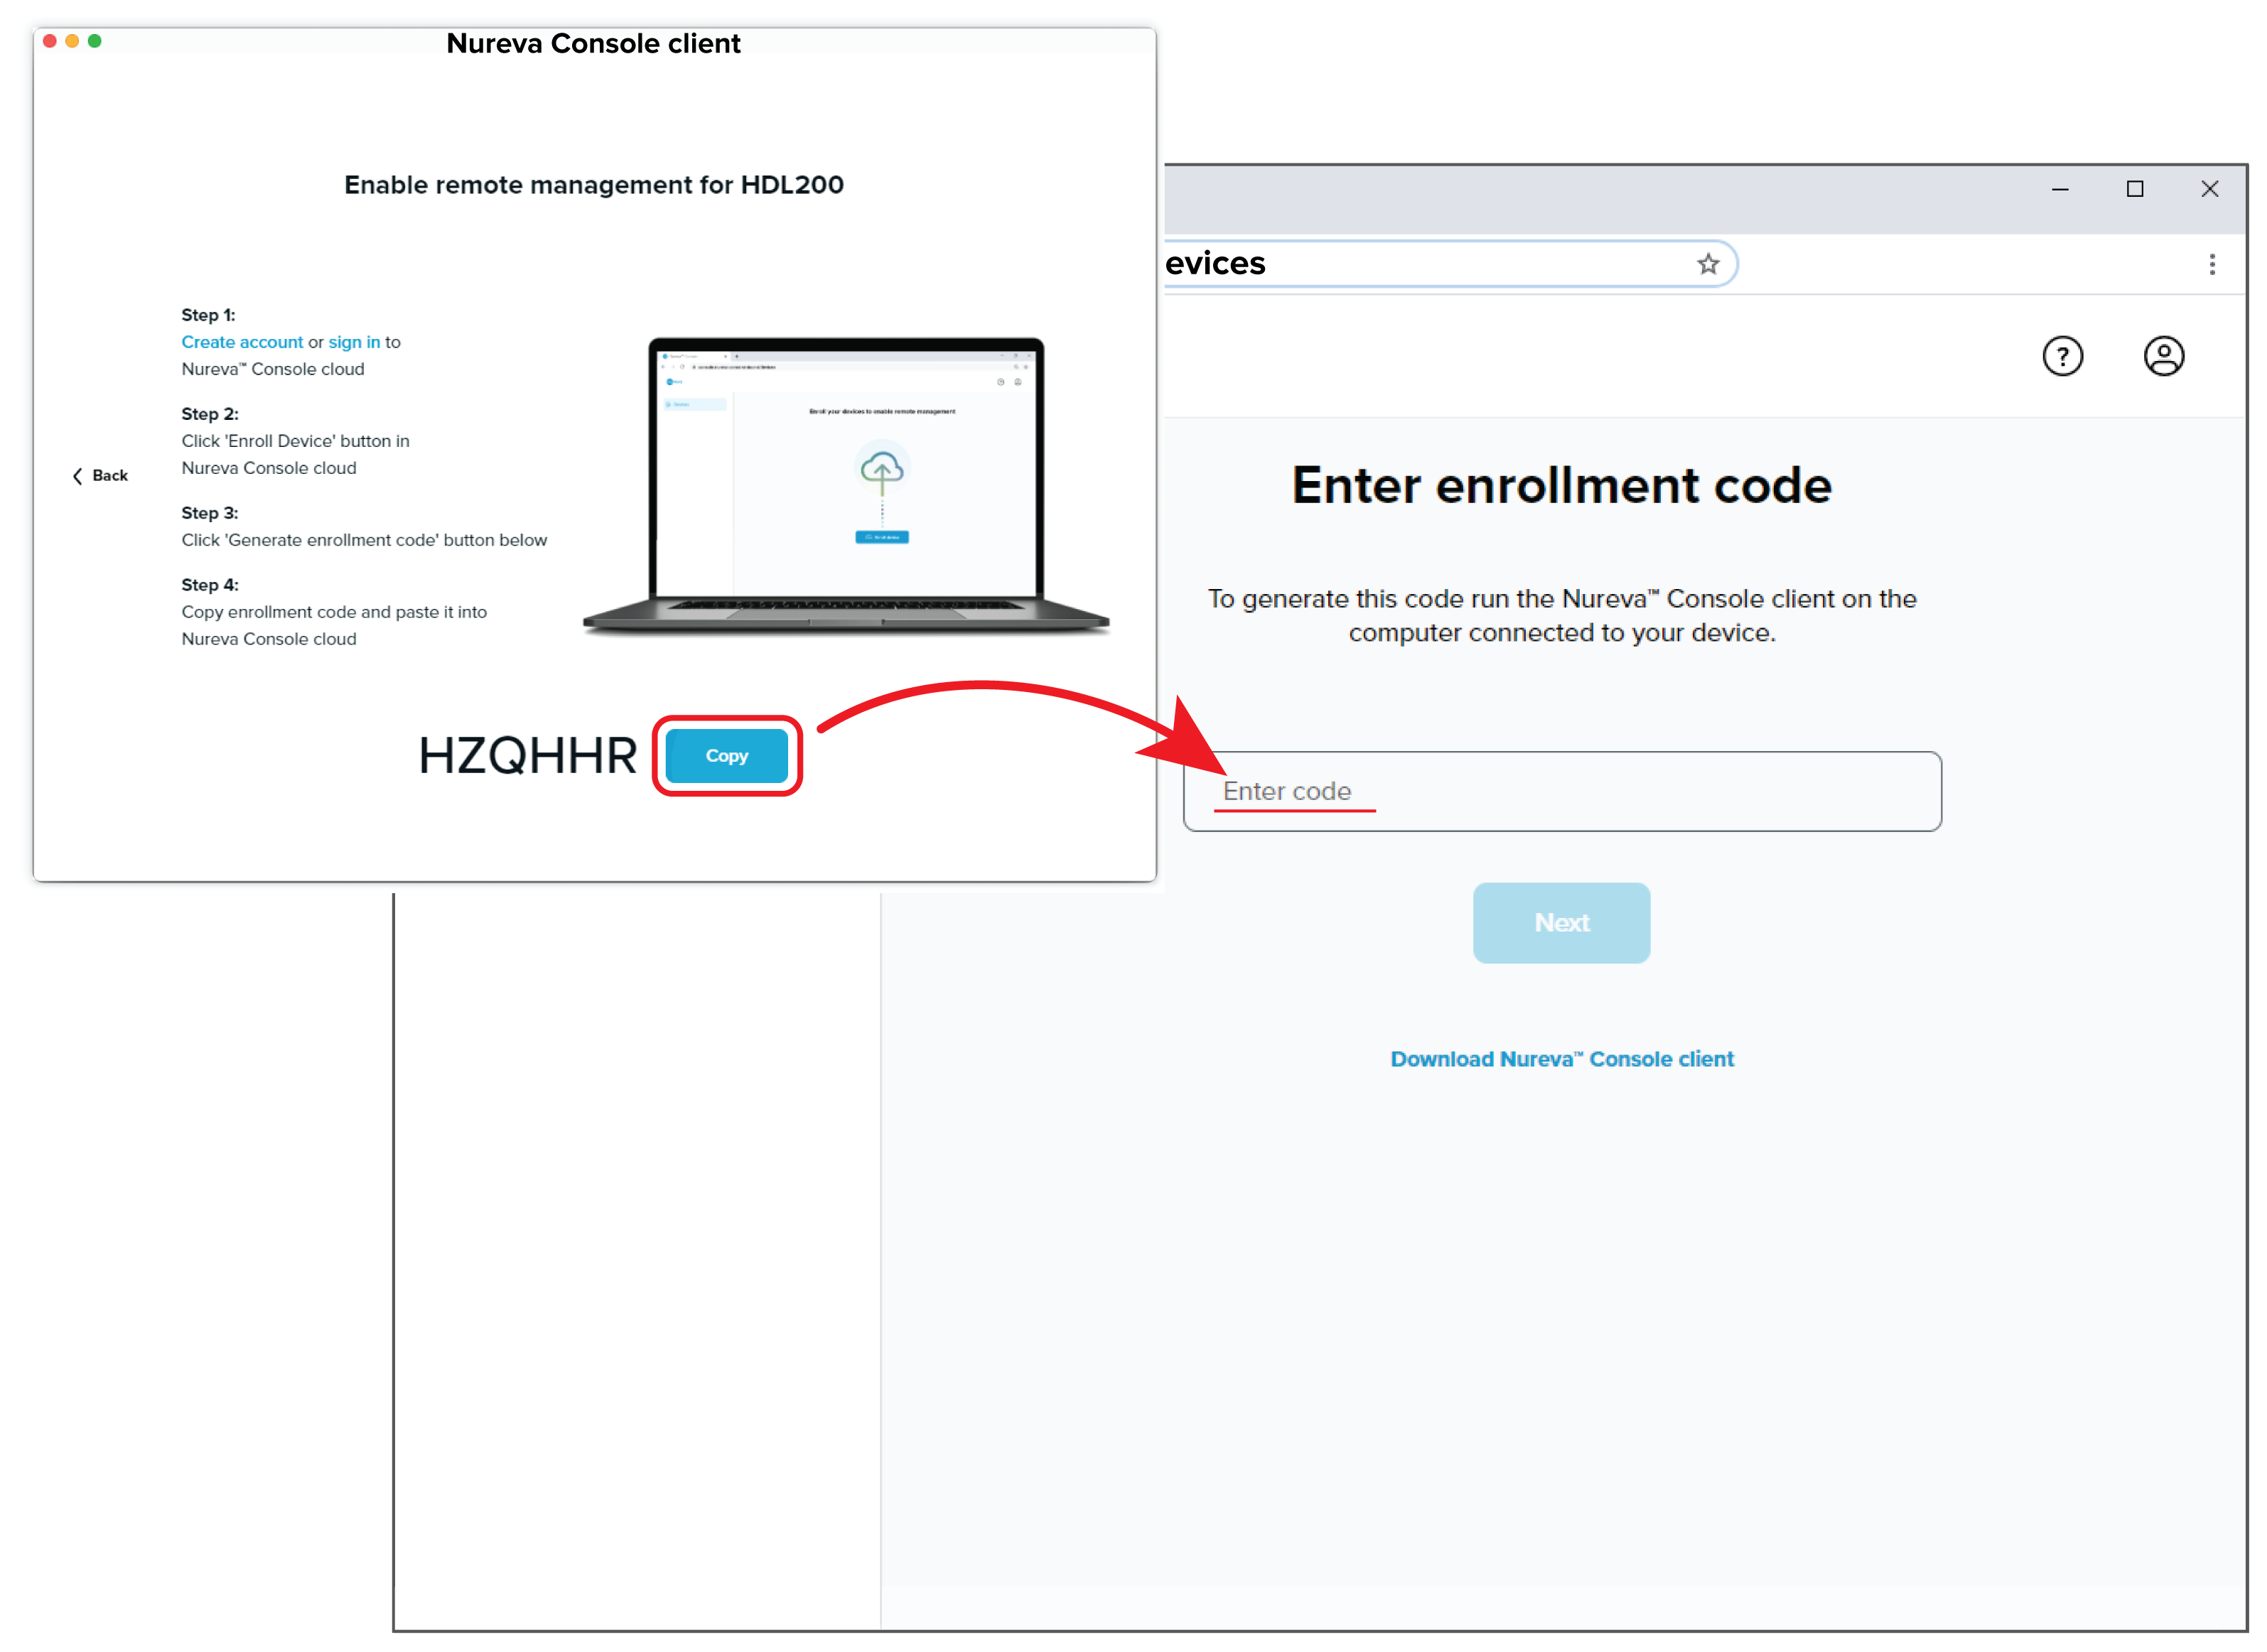
- Select Allow from the pop-up in your browser to continue with device enrollment
Enter some additional device details such as the room name and tags to help you identify your device within your organization.
Example room name: CA-Boardroom-1
Example tags: HDL200, Wall mounted, Floor 1, Room 502, 65"Display
- Click Save
The audio device should now appear in the device list, as shown below.