In certain situations, you may be asked to collect the Nureva Console client logs and provide them to Nureva support for analysis. This can be completed by following the steps below.
Windows
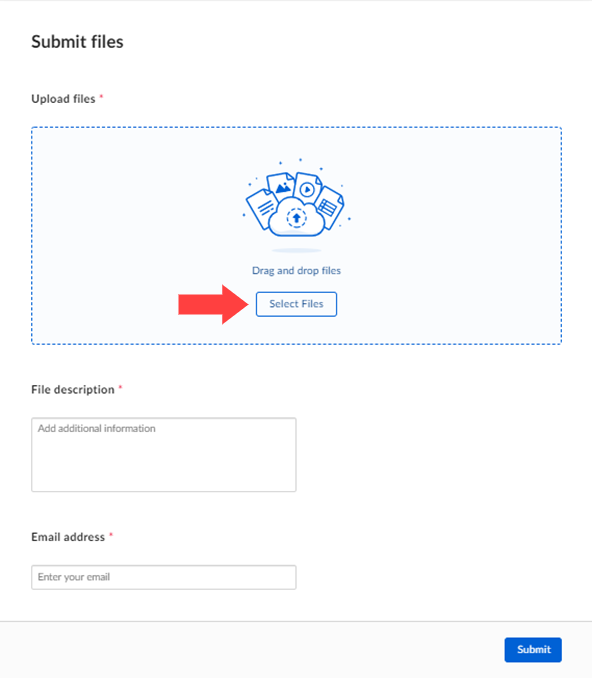
- Click this link to launch the Nureva secured file uploading portal in your web browser
- Click on Select Files to add the log files listed below
- C:\ProgramData\Nureva\Nureva Console Client\Logs\
- C:\ProgramData\Nureva\NurevaConsoleDaemon\Logs\
- C:\ProgramData\Nureva\Nureva Updater\Logs\
- The Nureva Updater folder is only available if a Nureva Console client version prior to 1.3.167797 was installed
- Other log files as requested by technical support
- If multiple files are being added, use “Add another file”
- In the File description field add your support case number
- Complete the Email address field
- Click Submit
macOS
- Click this link to launch the Nureva secured file uploading portal in your web browser
- Click on Select Files to add the log files listed below
- Open the ‘Finder’ (Usually, the left-most icon in the dock that looks like a blue/white happy face)
- Once this is open, use the hotkey ‘Command-Shift-G’ to bring up a window where you can type in a path
- Type in the two paths below one at a time to get the logs
- /Library/Logs/Nureva/Nureva Console client/
- /Library/Logs/Nureva/NurevaConsoleDaemon/
- Right-click on the target and select the ‘Compress folder/file’ from the context menu
- In the File description field add your support case number
- Complete the Email address field
- Click Submit