Video conferencing cameras can be added to Nureva Console client allowing for remote monitoring. The CV30 camera has additional management features available as well.
Adding a camera
Adding a Nureva CV30 camera
Nureva Console client auto detects Nureva conferencing devices including the CV30 camera.
- Ensure that the CV30 camera is connected to the computer
- Open Nureva Console client
- The CV30 camera will be detected and listed as a device
See Connecting a Nureva conferencing system to Nureva Console client for additional information.
Adding a third-party camera
Nureva Console client supports monitoring of many USB cameras. These third-party cameras are monitored alongside Nureva conferencing systems.
NOTE: A Nureva conferencing device must be connected to the computer and detected by Nureva Console client before adding a third-party camera.
- Open Nureva Console client
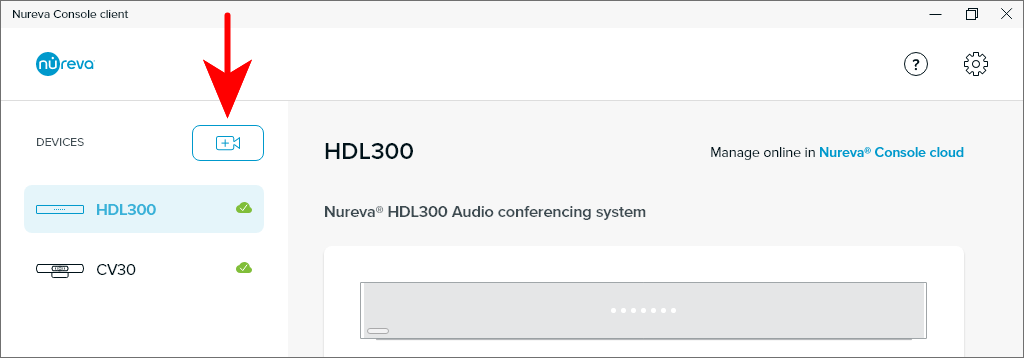
- Confirm that one or more Nureva conferencing systems are shown in Nureva Console client
- Press the camera icon button in the Devices list on the left
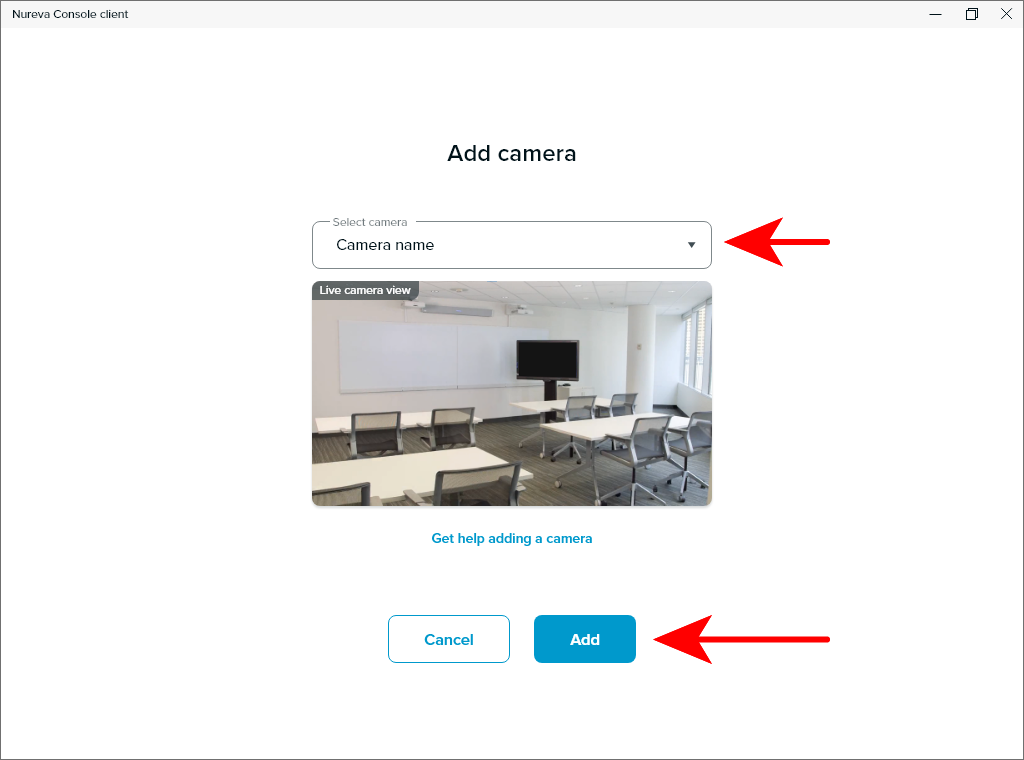
- When the interface opens select the camera you would like to add from the drop-down list
- Once a camera is selected the live camera view will be active in the preview area
- Press the Add button to bring the selected camera into the Nureva Console client device list
NOTE: Some third-party cameras may not be supported. An error notification will advise if a third-party camera cannot be added.
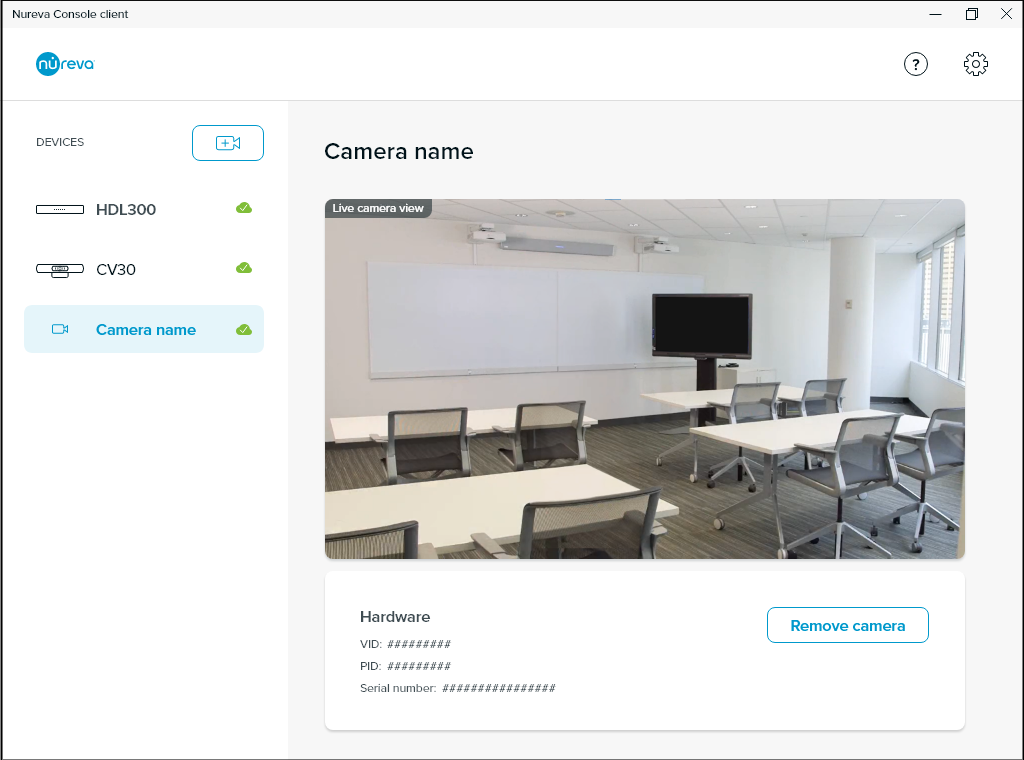
Once the camera has been added, it will appear in the Devices list in Nureva Console client. Some basic camera information will also be displayed under the camera preview to help identify the camera hardware.
If the Nureva conferencing device in the room is enrolled in Nureva Console cloud, the third-party camera will automatically start to enroll once it has been added.
Removing a camera
Removing a CV30 camera
When a CV30 camera is disconnected from the computer it will automatically be removed from Nureva Console client. If the CV30 camera was enrolled in the cloud application, it will remain enrolled even after being disconnected. The CV30 will need to be removed from Nureva Console cloud separately, as shown below.
- Navigate to Nureva Console cloud and sign into your account
- Locate the Room with the CV30 to be removed
- Click on the three-dot menu for CV30 camera
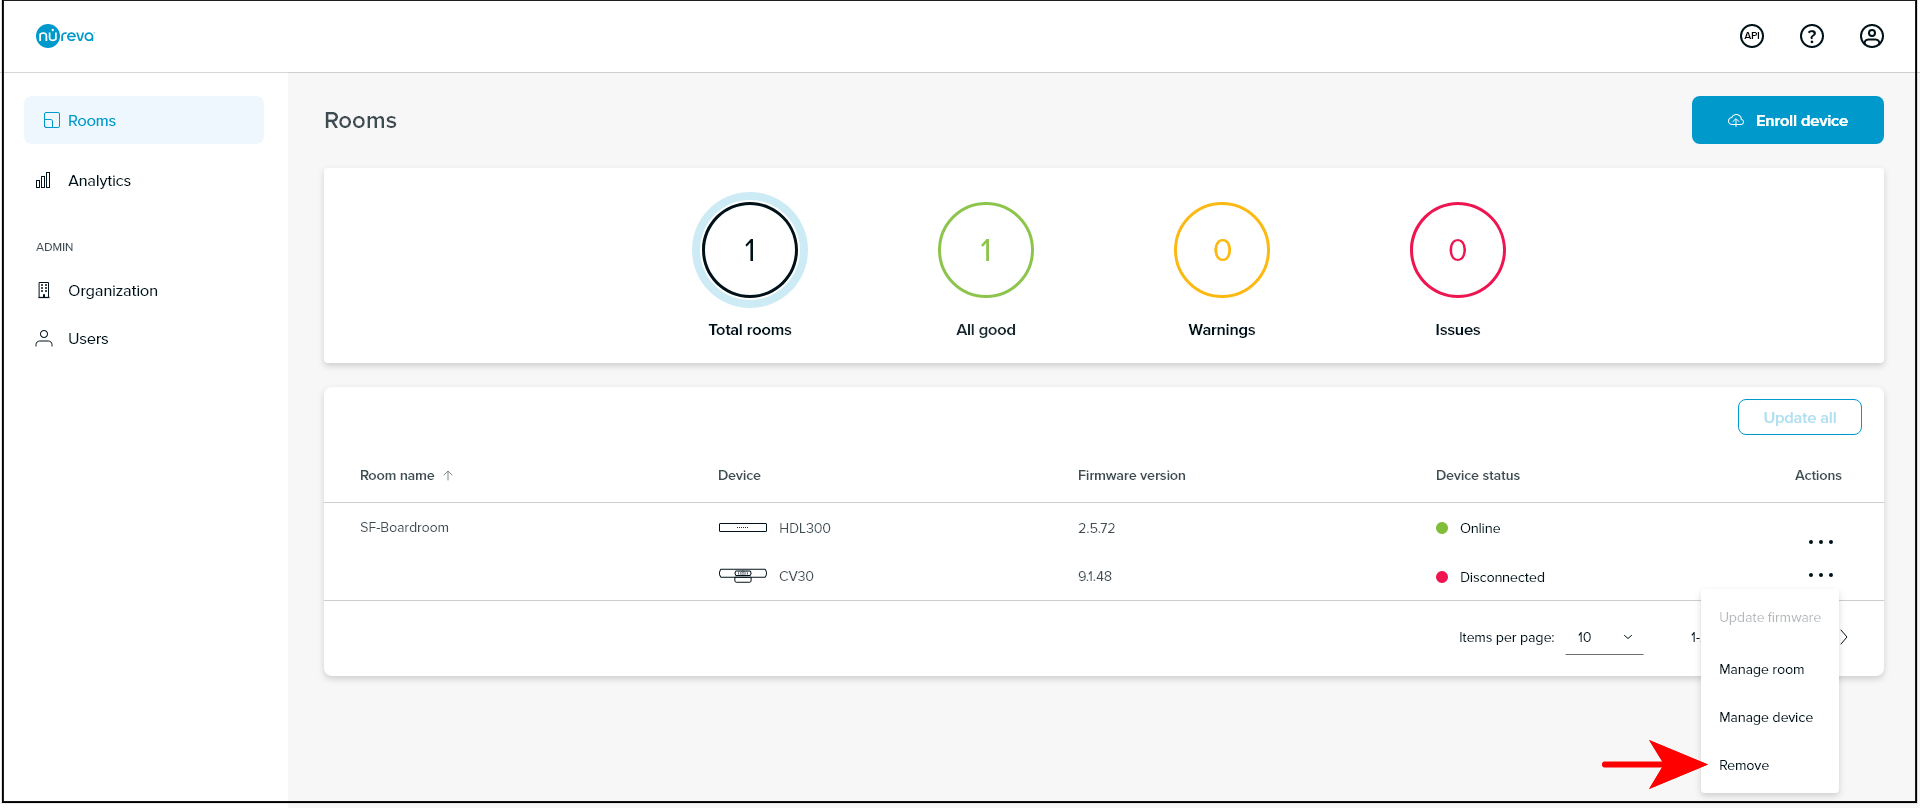
- Select Remove from the menu
- Click on Remove in the pop-up notification
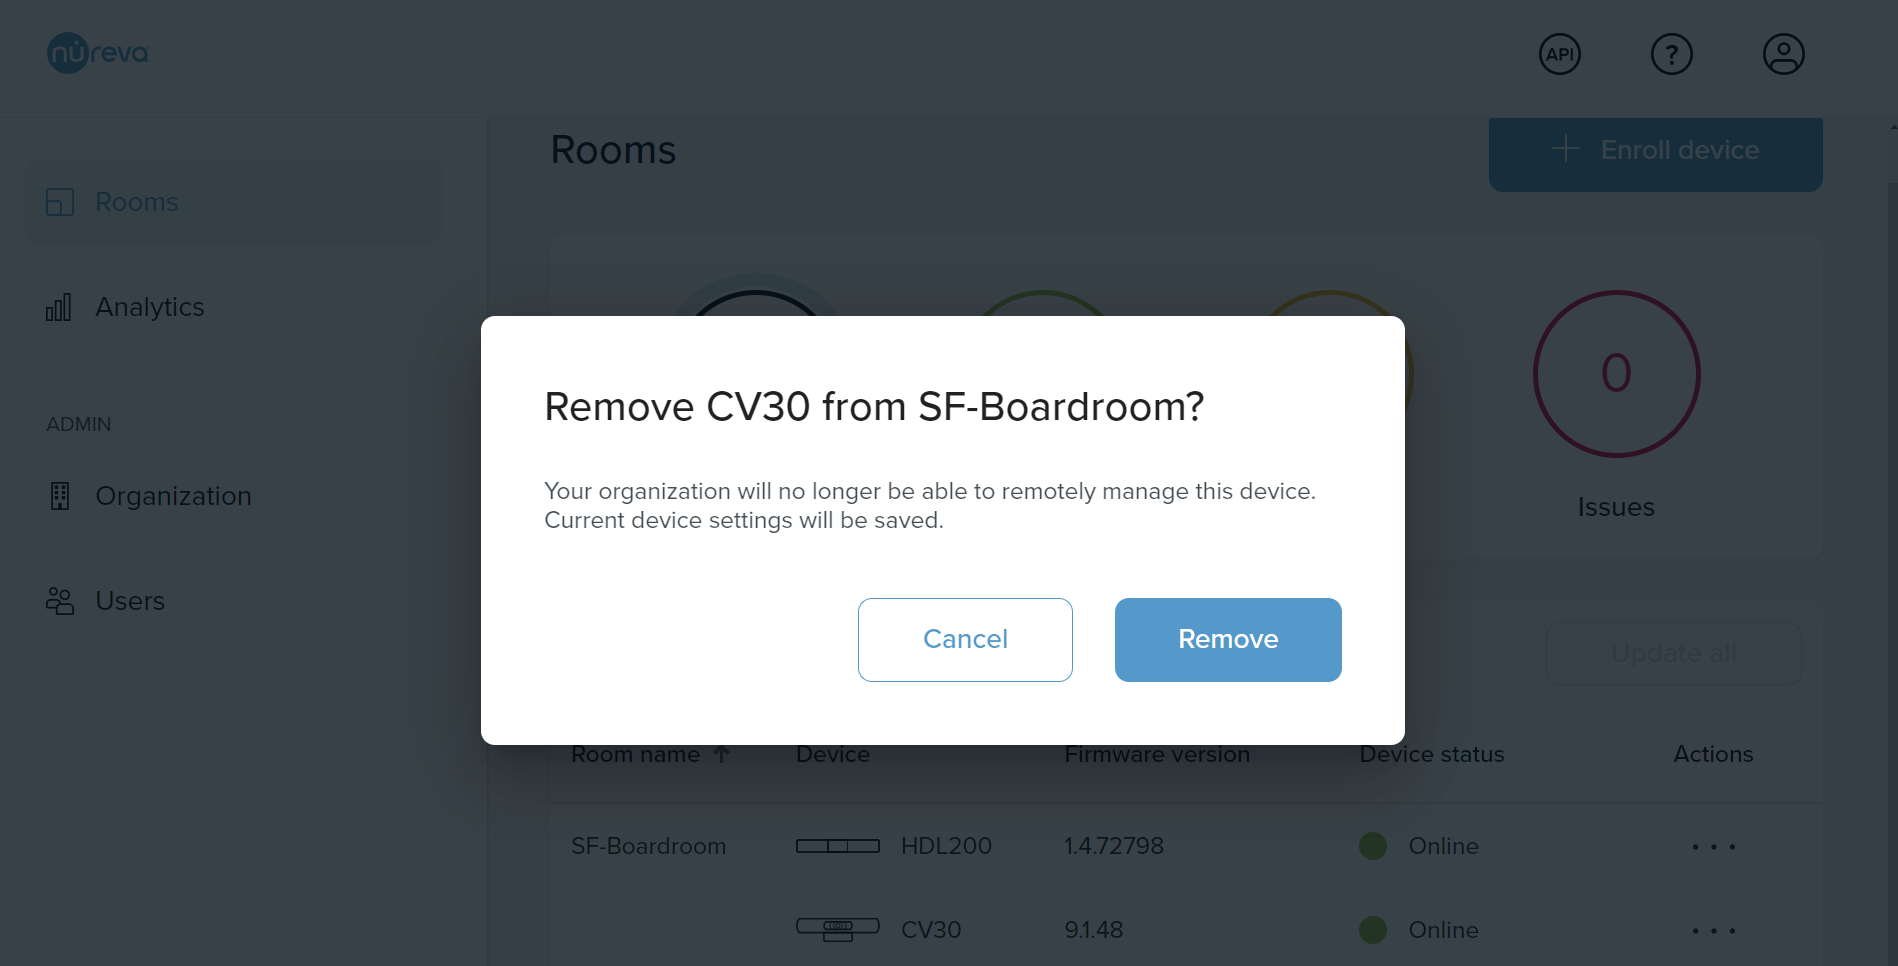
After clicking on Remove a notification will confirm that the CV30 camera has been removed.

If the CV30 camera is removed from Nureva Console cloud but remains connected to the computer, the CV30 will be re-enrolled into the cloud application automatically when the computer is next rebooted or the Nureva Console daemon is restarted.
Removing a third-party camera
When removing a third-party camera that is enrolled in Nureva Console cloud, you will need to remove it from both the desktop client and the cloud application. The order in which they are removed from these applications does not matter. You can remove them in the order that is most convenient for you.
Removing a third-party camera from Nureva Console client
A third-party camera can easily be removed from Nureva Console client. Press the Remove camera button located under the camera preview on the device page for the specific camera to be removed.
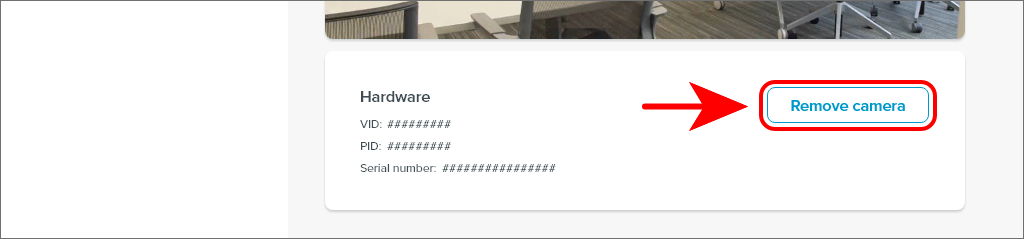
The camera will be removed from Nureva Console client and can be added again at any time. If the camera was enrolled in Nureva Console cloud, removing it from the desktop client will cause the device status in the cloud application to change to Disconnected.
Removing a third-party camera from Nureva Console cloud
- Navigate to Nureva Console cloud and sign into your account
- Locate the Room with the camera to be removed
- Click on the three-dot menu for the camera
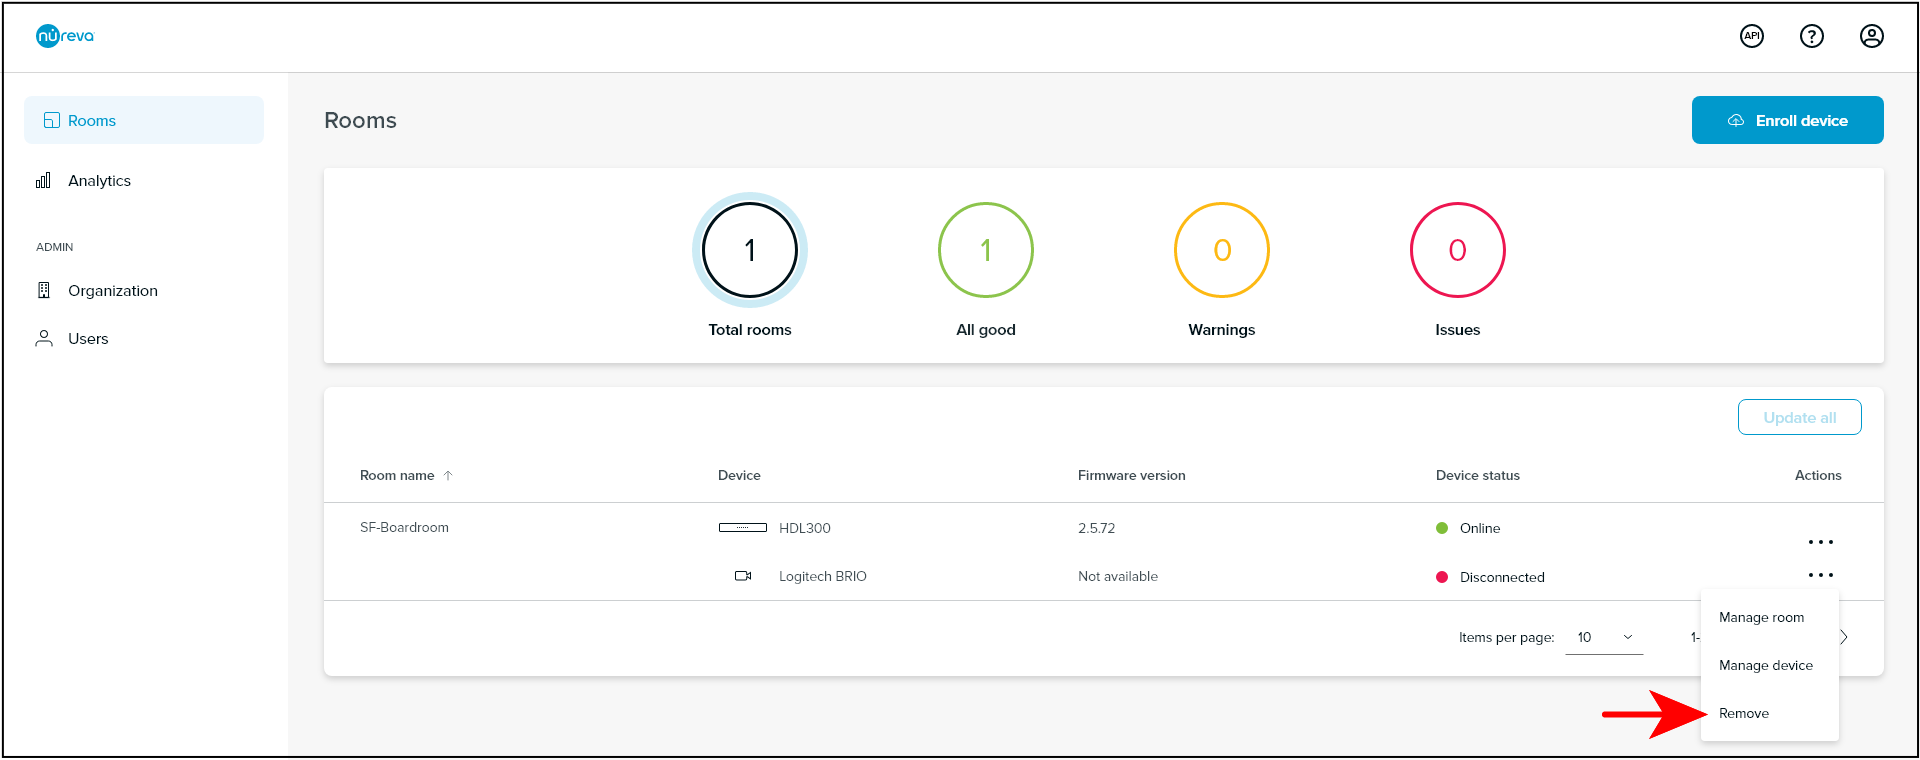
- Select Remove from the menu
- Click on Remove in the pop-up notification
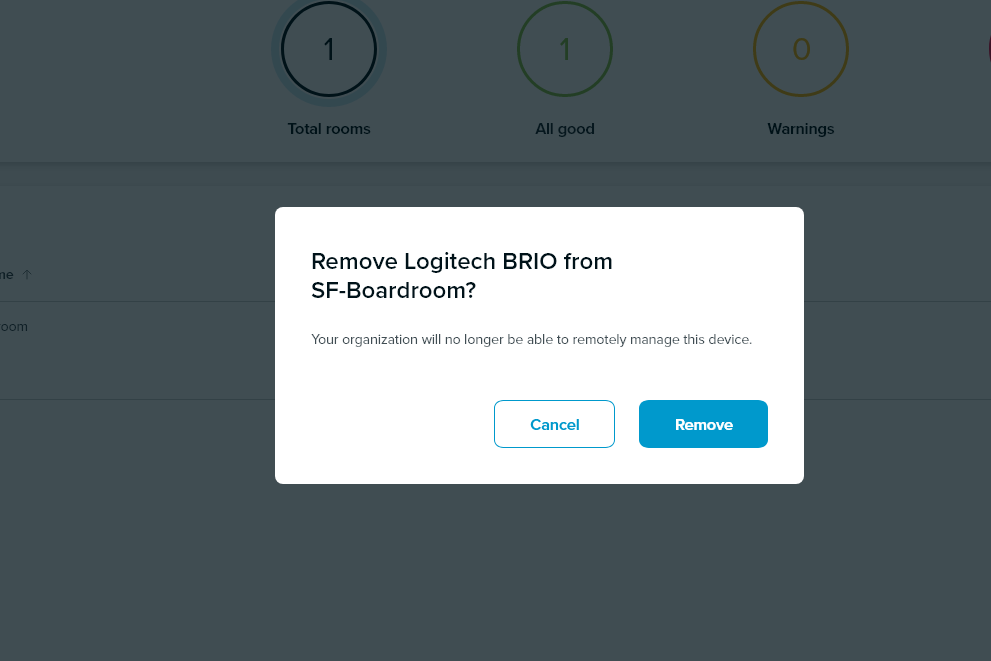
After clicking on Remove a notification will confirm that the third-party camera has been removed.
.png)