Windows® 10 and 11
When troubleshooting a low speaker volume from Nureva® audio products, two preliminary steps can be taken. Sometimes, navigating the system volume settings can seem complicated. However, by understanding them and making the necessary adjustments, you will generally achieve the desired speaker volume.
1. Device Volume
An initial step is to check the device volume settings on the computer being used. You can adjust the device volume settings with the Nureva conferencing system’s remote control. You can also do it through the Windows taskbar.
- Left-click the speaker icon in the lower-right corner of the taskbar

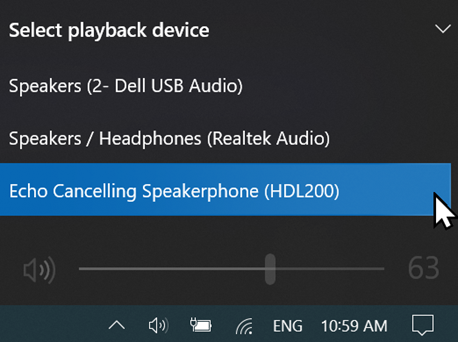
- In the pop-up, ensure the correct system is selected
- If multiple devices are connected, click the arrow and make the appropriate selection
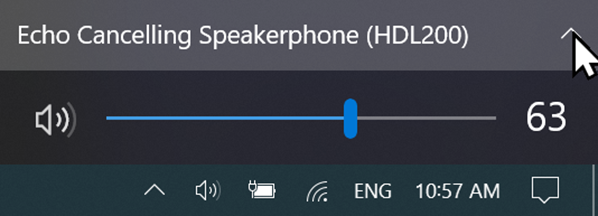
- Increase the sound volume by moving the slider to the right
2. Application volume
-
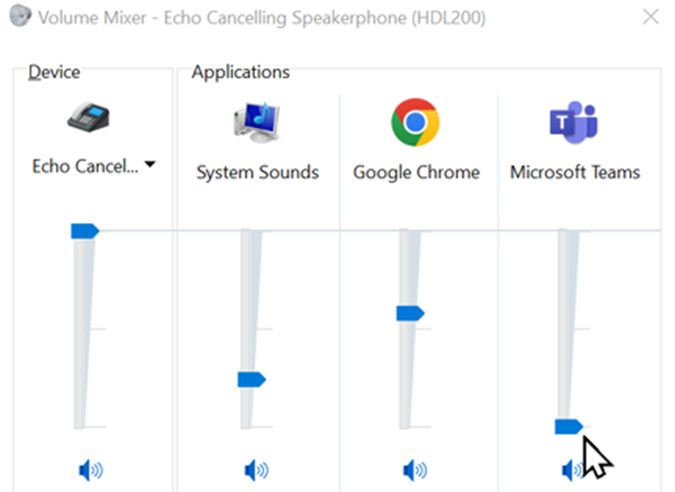
Each active application with sound output has its own volume setup. You can adjust the volume of each application through the volume mixer.
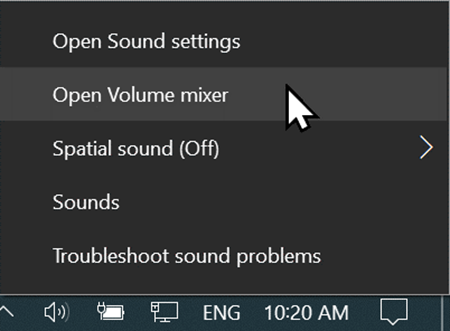
- Right-click the speaker icon on the taskbar and select Open volume mixer
- The slider on the left side of Application controls the device volume
- Select the applicable Nureva device
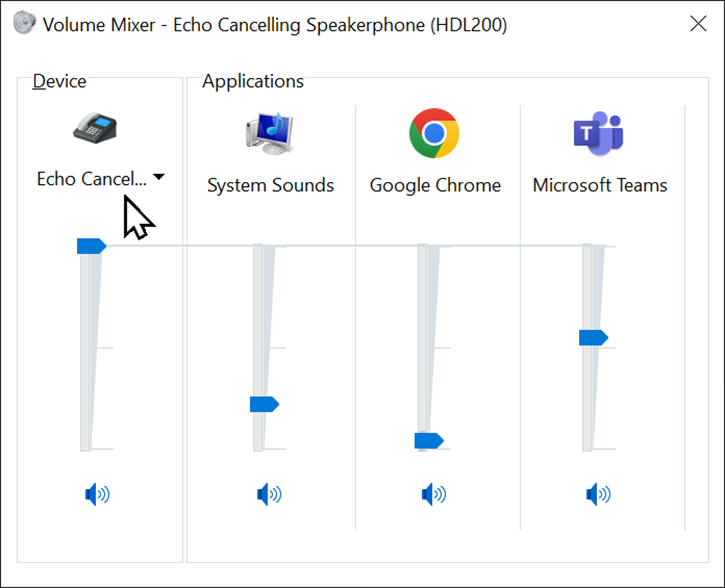
- The sliders on the right side of the device control the volume for active applications
- Adjust these sliders to control the volume of each application independently
- If your intended application is not showing, ensure it is running
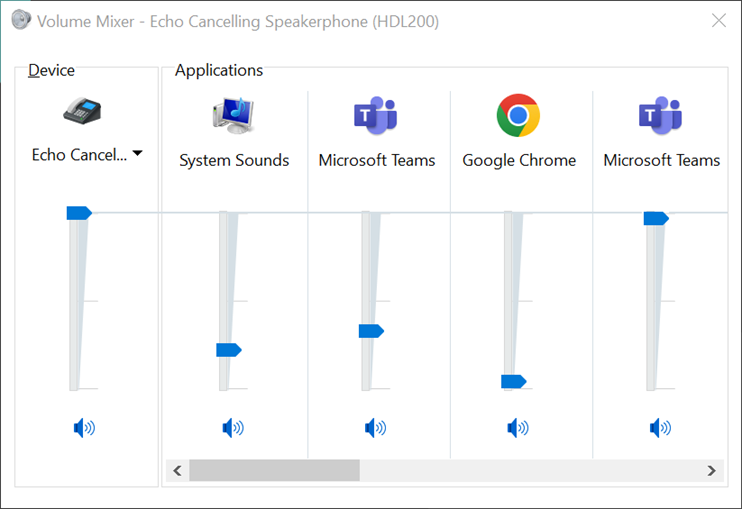
Duplicate applications
An application may appear more than once in the volume mixer. This is generally due to multiple sound sources or connected audio devices being used by the same application. Ensure that you identify the correct application instance before making adjustments. Alternatively, adjust the volume for all instances of the application.
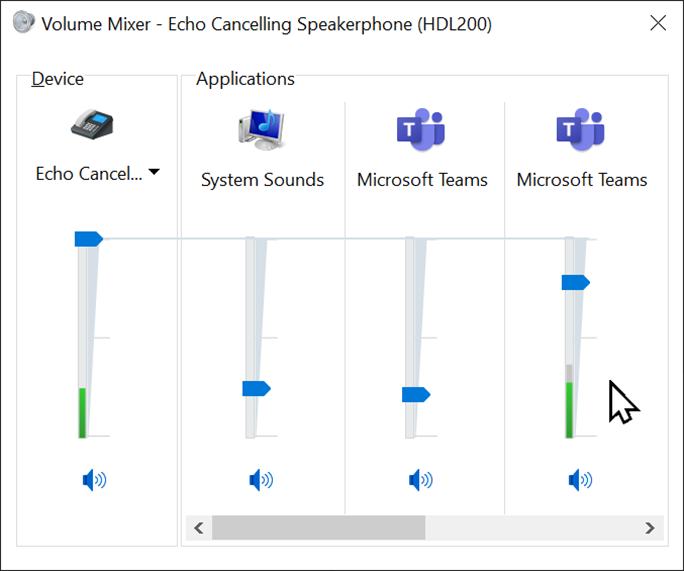
By default, the volume mixer in Windows 10 displays up to three applications. If four or more applications are in use, moving the scroll bar to the right will make the additional applications available. You can also expand the volume mixer window to show all the applications.
Note that multiple instances of an application may not be grouped together. One instance may be visible while another is hidden. Ensure you identify and adjust the volume for the correct instance.
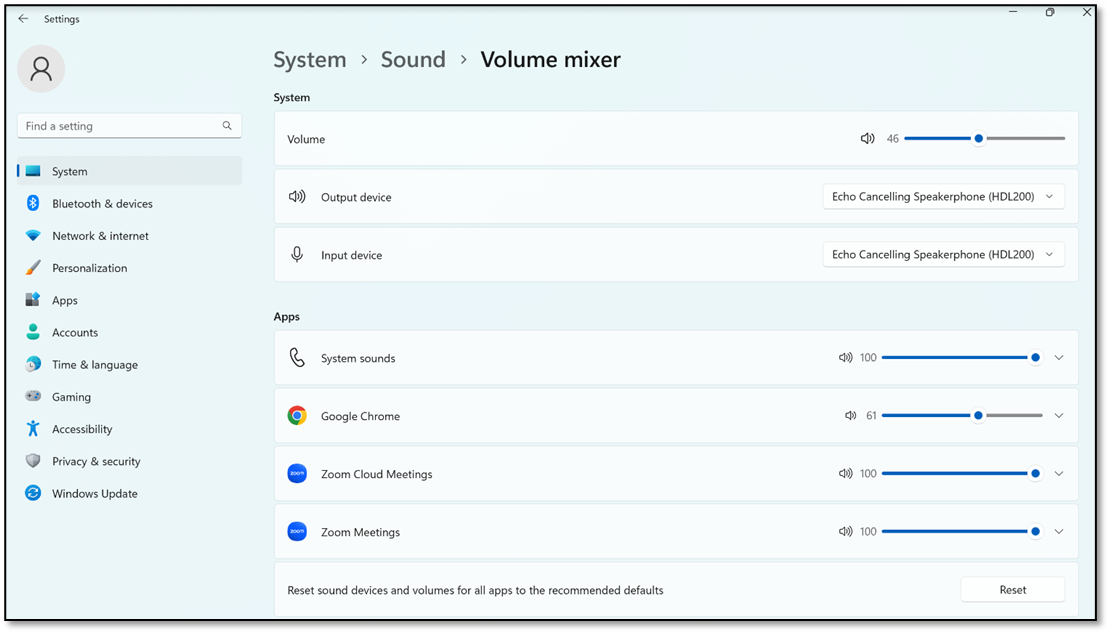
Windows 11 volume mixer
The Windows 11 volume mixer has a different interface to Windows 10, but its functionality is similar. The volume mixer is divided into a top section and a bottom section. The top section has controls for the system volume as well as input and output devices. The bottom section is dedicated to volume adjustments for applications.
3. In-app volume adjustment
The third volume adjustment you can make is within the application itself. While not all applications have in-app volume controls, it’s worth checking if they do. Generally, volume controls can be found in the following locations:
- Device settings (e.g., Microsoft Teams or Zoom software)
- Within the application-level settings (e.g., VLC media player)
- Located in an independent location, such as a web browser (e.g., YouTubeTM or Audacity®)
It is important to remember that these settings are often linked to systems-level settings. For example, when adjusting the speaker volume in Microsoft Teams the operating system speaker volume mirrors the change.
Summary
When your Nureva audio system doesn’t output sound volume as expected, start by checking computer settings at the device level and the application level. In some cases, you may need to adjust volume settings within specific apps. By following these steps, issues can be resolved, ensuring optimal sound output from your Nureva audio conferencing system.
macOS®
When troubleshooting a low speaker volume from Nureva® audio products, two preliminary steps can be taken. Sometimes, navigating the system volume settings can seem complicated. However, by understanding them and making the necessary adjustments, you will generally achieve the desired speaker volume.
1. Device volume
An initial step is to check the device volume settings on the computer being used. You can adjust the device volume settings with the Nureva conferencing system’s remote control . You can also do it through the macOS system preferences.
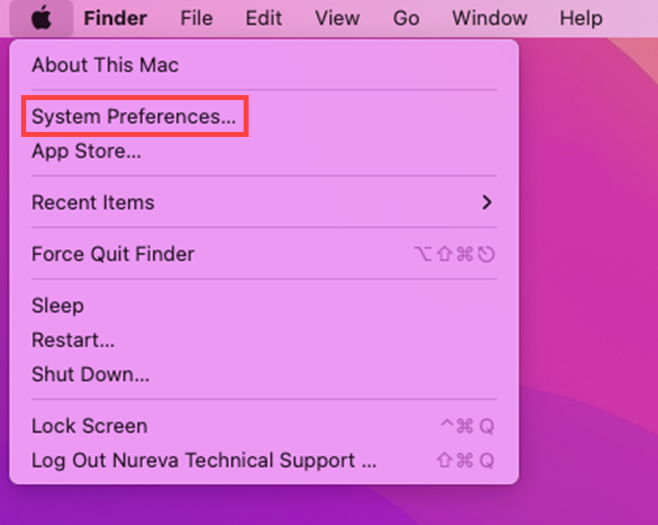
- Click on the Apple icon in the top left-hand corner of the desktop
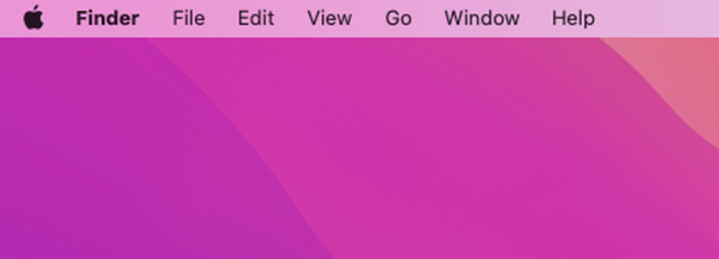
- Select System Preferences
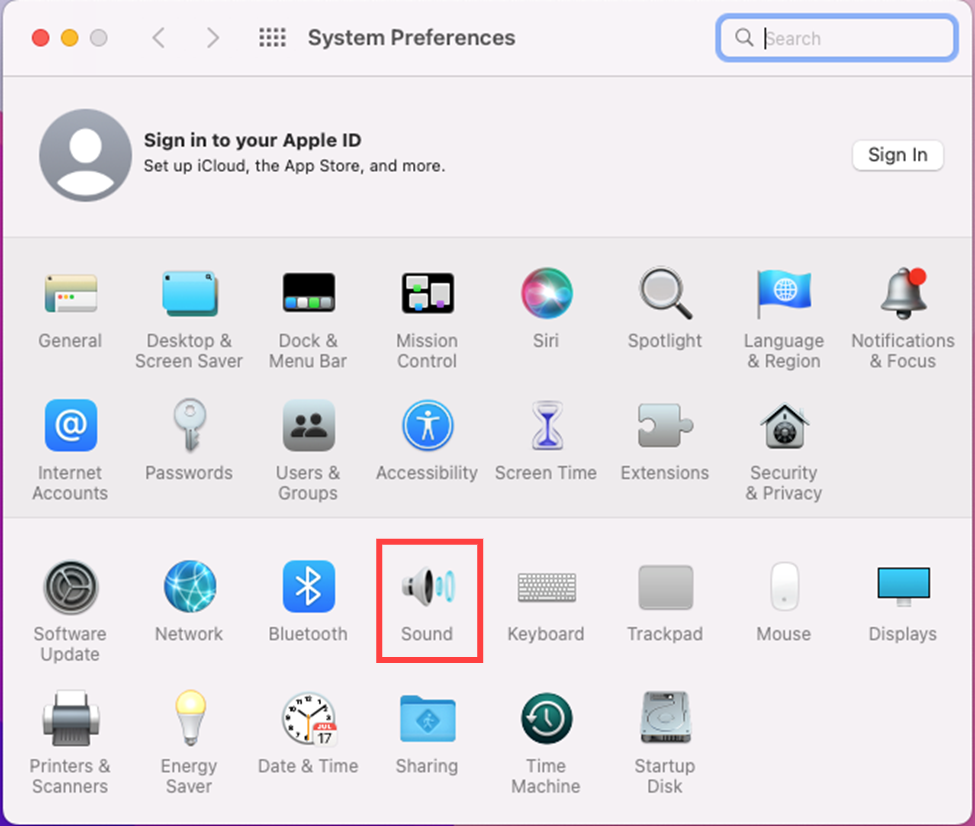
- Locate the speaker icon for Sound
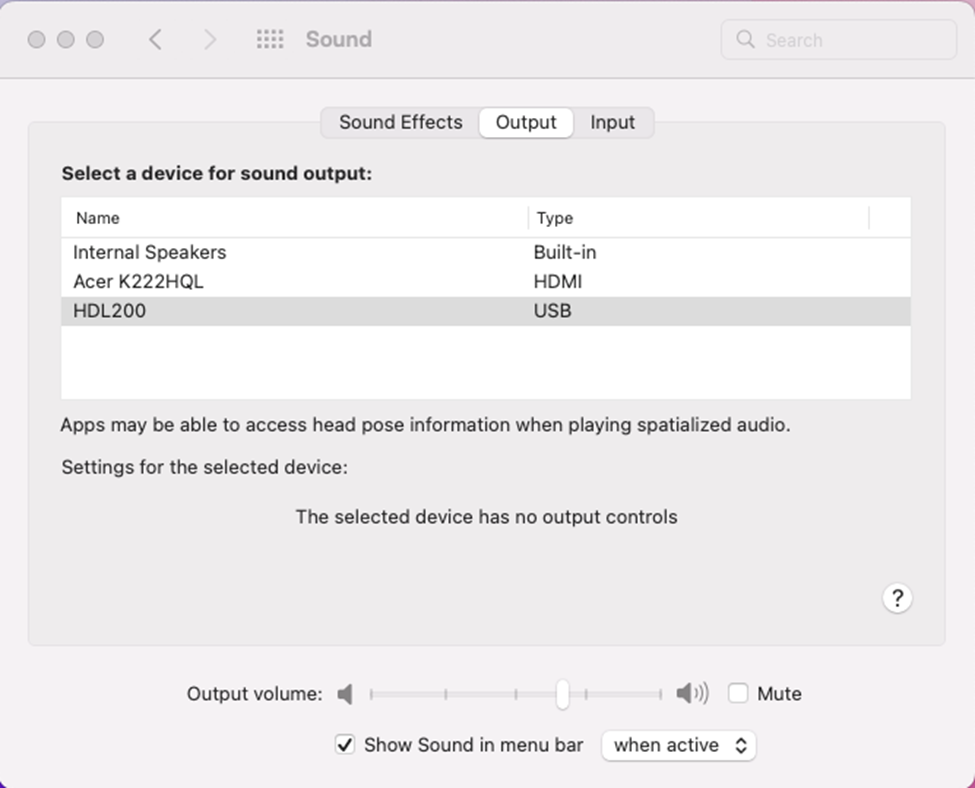
- In the pop-up, click on the Output tab
- Ensure the Nureva audio device is selected
- Increase the Output volume by moving the slider to the right
2. In-app volume adjustment
The second volume adjustment you can make is within the application itself. While not all applications have in-app volume controls, it’s worth checking if they do. Generally, volume controls can be found in the following locations:
- Device settings (e.g., Microsoft Teams or Zoom software)
- Within the application-level settings (e.g., VLC media player)
- Located in an independent location, such as a web browser (e.g., YouTubeTM or Audacity®)
It is important to remember that these settings are often linked to systems-level settings. For example, when adjusting the speaker volume in Microsoft Teams the operating system speaker volume mirrors the change.
Summary
When your Nureva audio system doesn’t output sound volume as expected, start by checking computer settings at the device level. In some cases, you may need to adjust volume settings within specific apps. By following these steps, issues can be resolved, ensuring optimal sound output from your Nureva audio conferencing system.