The HDL200 system has two types of calibration – automatic calibration and recalibration. Ideally, the user or installer does not need to perform any calibration procedures on the HDL200 system as it is done routinely by the system.
During a calibration sequence, the speaker will generate a signal that will sound like static. After 15 to 20 seconds the static sound will stop and the LCD will return to a normal state. The calibration sequence will be complete.
Autocalibration
Autocalibration is a continuous process and occurs while the HDL200 system is powered. No user action is required to start or maintain the autocalibration process. The system usually takes a few minutes to gather sufficient calibration data and continues to fine-tune over time. This process does not affect the functionality and the system is usable during autocalibration.
The HDL200 system will recalibrate to accommodate changes in the room such as the number of people or the configuration of furniture.
Recalibrate
Recalibration is a process that calibrates the system within seconds. It automatically starts when the unit is first unboxed and powered-up. Additionally, recalibration may be initiated manually through a remote control button sequence or by using Nureva® Console Client. The recalibration procedure will take approximately 20 seconds to complete.
We recommend having the HDL200 system installed before powering it up for the first time. If the system is powered up pre-installation, the HDL200 system will require a recalibration once installed to ensure optimal audio quality.
Recalibration can be manually started at any time but is usually used when the room configuration changes significantly. Do not perform a recalibration and then re-position the HDL200 system or furniture. Make sure there are no other audible sound sources in the room other than normal ambient noise (e.g. no music playing, no people talking).
It is possible to start a recalibration during a call. However, both parties will not be able to hear each other while a recalibration is taking place. The microphones and speakers are temporarily disconnected from the call. The call will resume after recalibration is complete.
Nureva Console and Console client recalibration
The following steps are required to perform recalibration through Nureva Console or Console client:
- Navigate to Device Settings
- Choose Audio processing
- Under the Recalibrate section, click on Start
- Once the calibration signal stops and the LCD screen returns to a normal state, the recalibration will be complete
Remote control Recalibration
Below are the steps for initializing the manual recalibration through the remote control.
- Press the F4 button on the remote five times in quick succession
- Press the Mute button on the remote and the HDL200 system will enter the recalibration mode
- Once the calibration signal stops and the LCD screen returns to a normal state, the recalibration will be complete
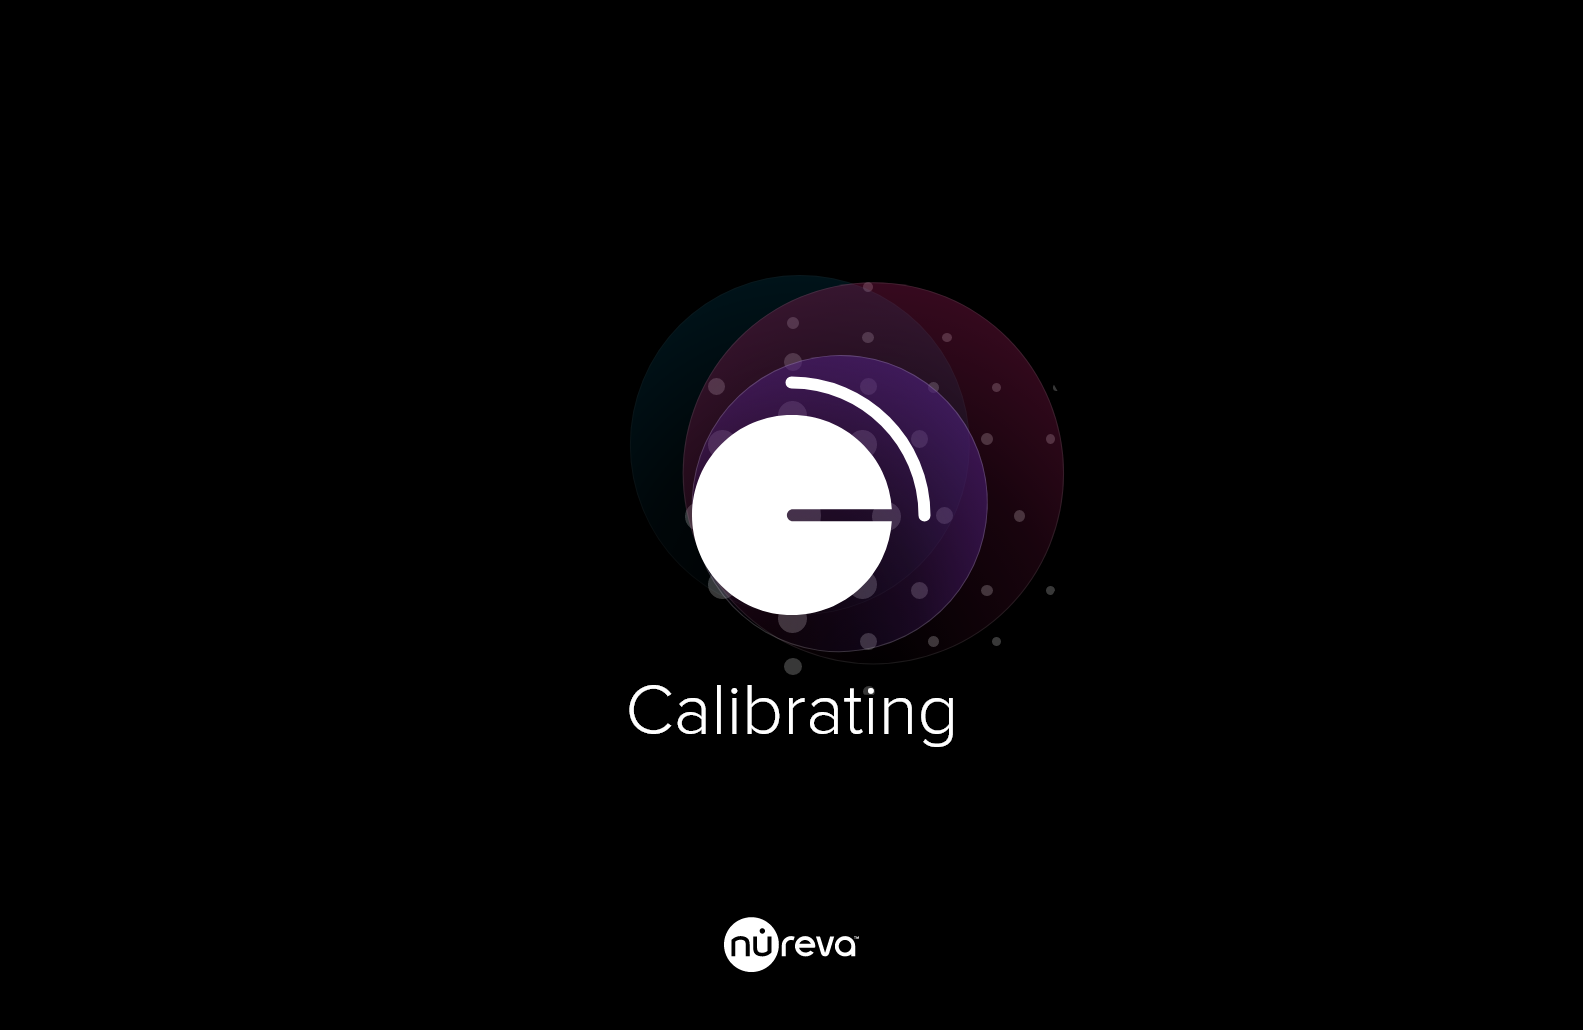
HDL200 Calibration Screen
The LCD screen will show the image below during the calibration process.