If you'd like to test the pickup or output of your Nureva audio conferencing system's microphone and speaker bar, try the following steps.
Testing the speakers
- Play a signal on the system's speakers using a program or sound source that generates a frequency sweep from 150Hz to 15Khz. If there is no speaker output, distorted output, or playback on only one channel, recheck the system wiring and the software settings for the playback (output speaker) device.
- Play a stereo signal that alternates the channels between right and left. If there is no speaker output, or the speaker only plays on one channel, recheck the system wiring and the software settings for the playback (output speaker) device.
- Play audio on the system at maximum volume. Check if the microphone and speaker bar is vibrating on the wall during playback, generating a rubbing sound, or buzzing noise. If it is, remount the system to make it more secure against the wall to remove the vibration.
Testing the microphone
Record your voice with a software application such as Windows® Voice Recorder or Audacity®. Make sure the software is configured to record on the Nureva audio system’s microphones. Walk around the room and talk at a normal volume while recording on the software. After, playback the audio to make sure the microphones were picking up your voice correctly. If there is no voice in the playback, check the system wiring. If the volume was quiet, check both the volume settings of the microphones and speaker. If there was considerable reverberation, room treatments such as acoustic panels may be needed to improve the audio quality (refer to the section on reverberation).
Windows Voice Recorder
Before you begin, make sure your Nureva audio system is your default audio device.
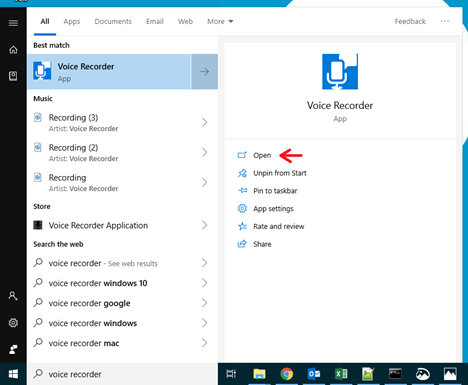
1. Open your Windows Voice Recorder program
- Click the microphone icon to start recording. Once you've started recording, you should see rings around the mic icon as it records the sounds in the room.
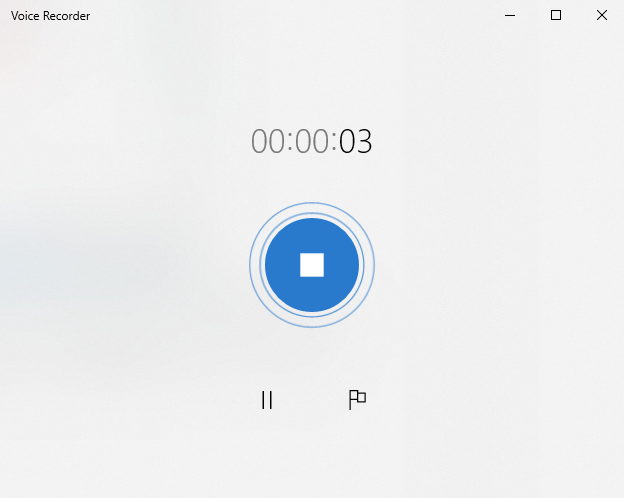
- Walk around the room while talking.
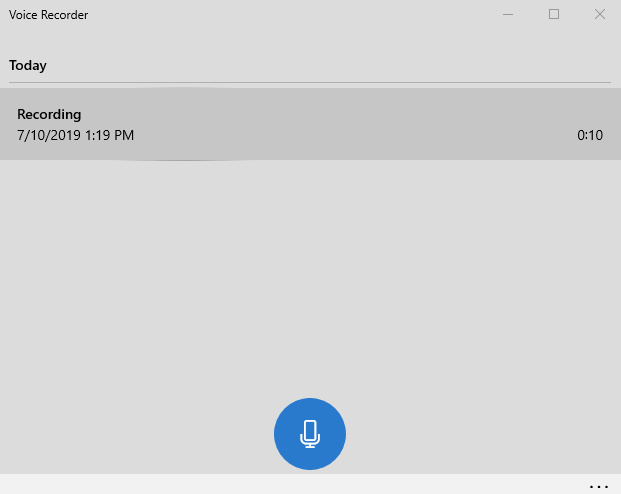
- Stop the recording by clicking the stop symbol.
- Click on the recording to play it back, checking the quality of your Nureva audio system input