
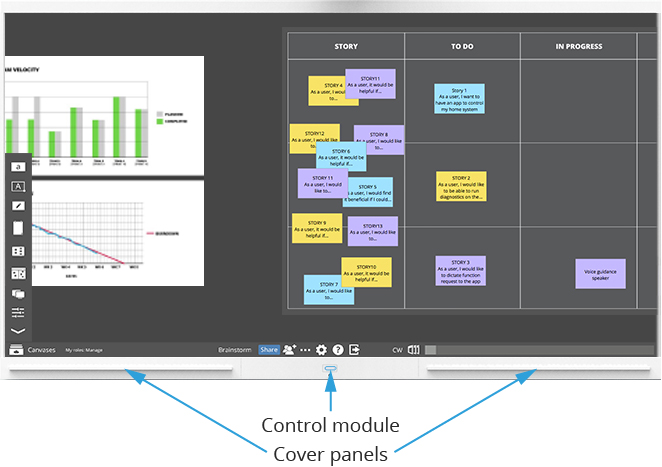
Changing the control module should only be completed by a trained technician.
- Remove the cover panels on the touch panel by carefully pulling the bottom edge of the cover away from the bezel. Set the cover panels to the side.
- Make a small mark with a pen/marker where the Control Module sits (this will help knowing where to exactly fit the replacement)
- Disconnect all cables from the control module – the LED on the control module should turn red
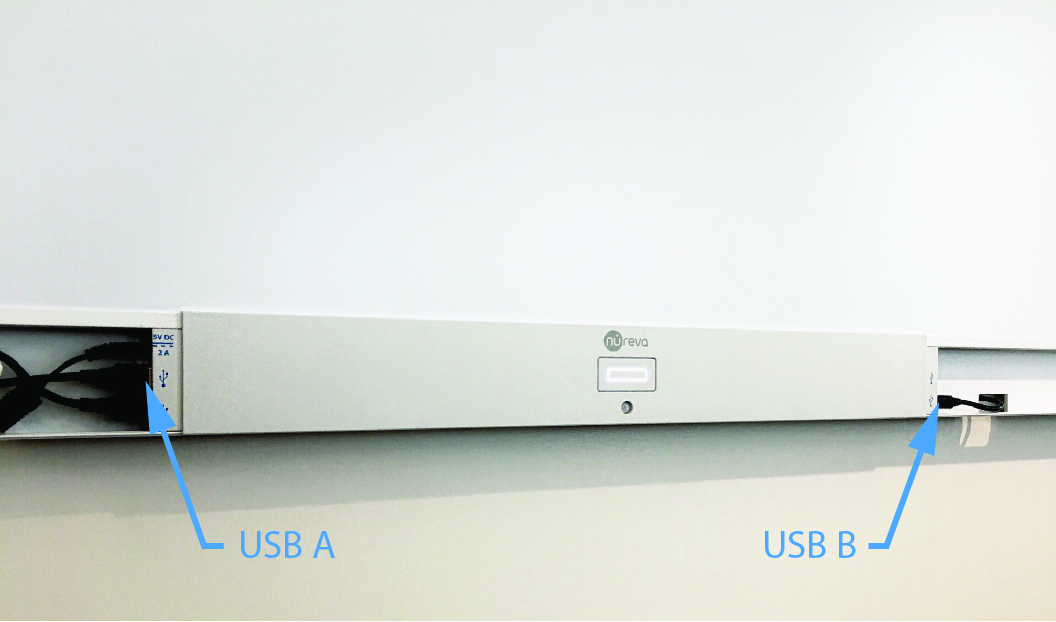
- Remove the control module by gently pulling the bottom part of the control module to unhinge it from touch panel – be careful in the removing the control module as it is connected to the touch module by a cable (as shown below)
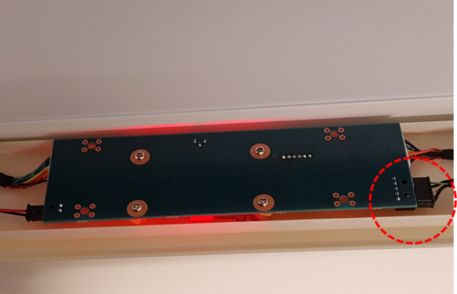
- Carefully disconnect the latching connector on the cable between the Nureva touch module (to the left of the control module) and the control module. You must press the release on the connector latch to disconnect the connector.
- Connect the cable from the NTP to the new control module and replace it on the touch panel in the location of the defective module
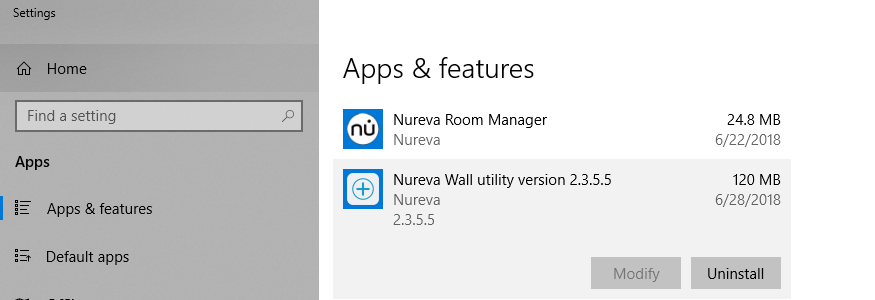
- Use the Windows® "Add or remove programs" tool to uninstall the Nureva Wall utility
- Go to the Product updates section of your Nureva Room Manager and install any available updates. Room Manager will re-install the Nureva Wall utility.
Last updated: October 5, 2018