To remove a device from Nureva Console cloud, follow the steps below. The examples shown depict a CV30 camera. These steps also apply to the HDL200, HDL300, Dual HDL300, HDL310 and HDL410 systems, as well as third-party cameras.
Cameras need to be removed from both the desktop client and the cloud application, otherwise, the camera may re-enroll in the cloud. See Add or remove a camera in Nureva Console for further details.
NOTE: In some cases, the device may need to be connected to the in-room computer and shown as online when logged into Nureva Console cloud before it can be removed.
Removing the device
- Navigate to Nureva Console cloud and sign in to your account
Once you have signed in, use these steps to remove the device from Nureva Console cloud:
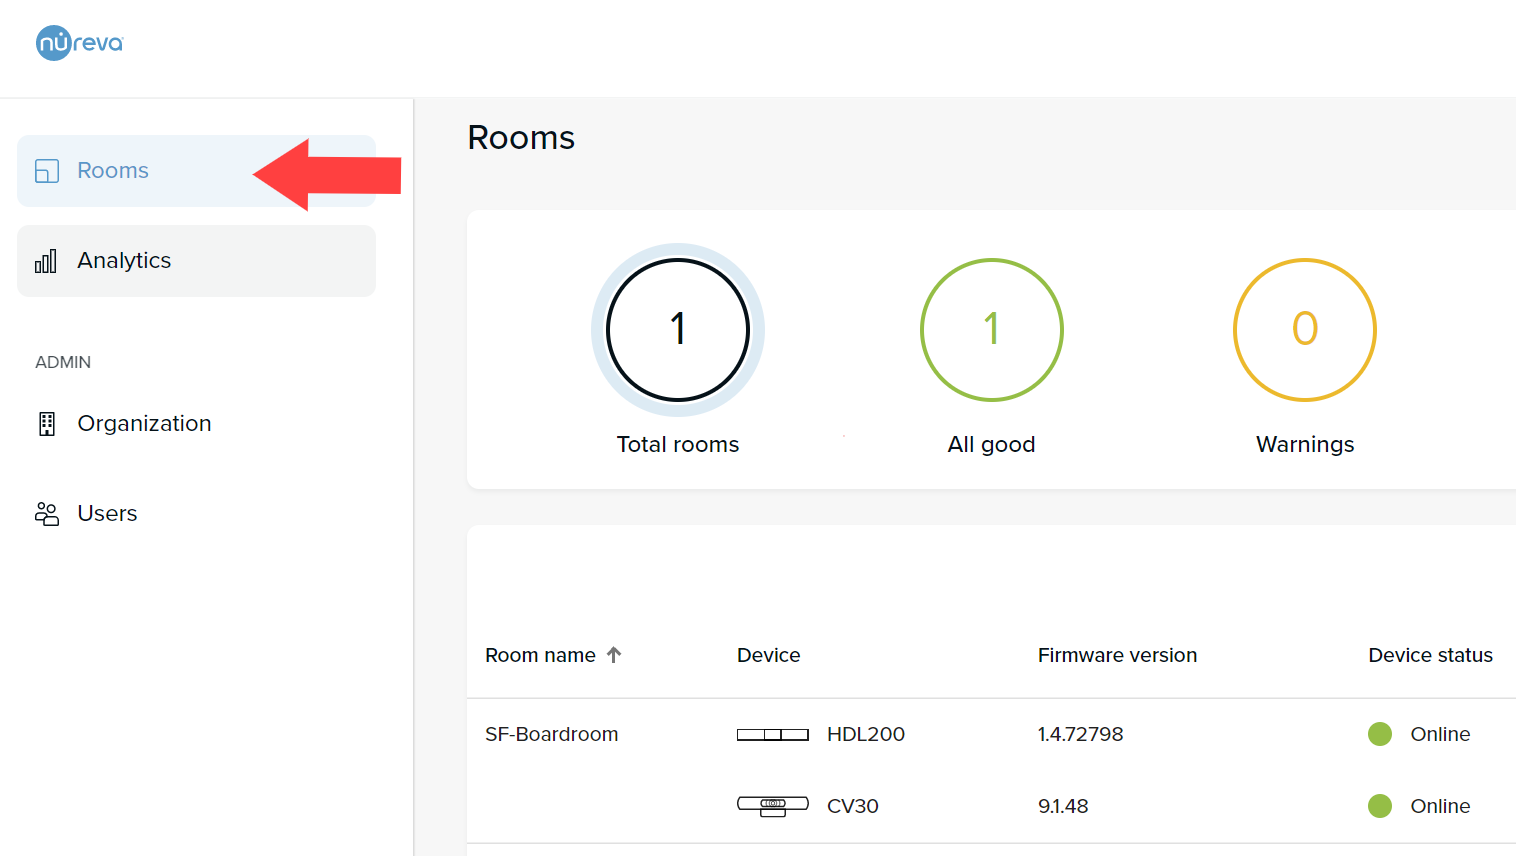
- Choose Rooms
NOTE: If you remove the only Nureva audio device from the room, the room will be removed along with any cameras that were enrolled as well.
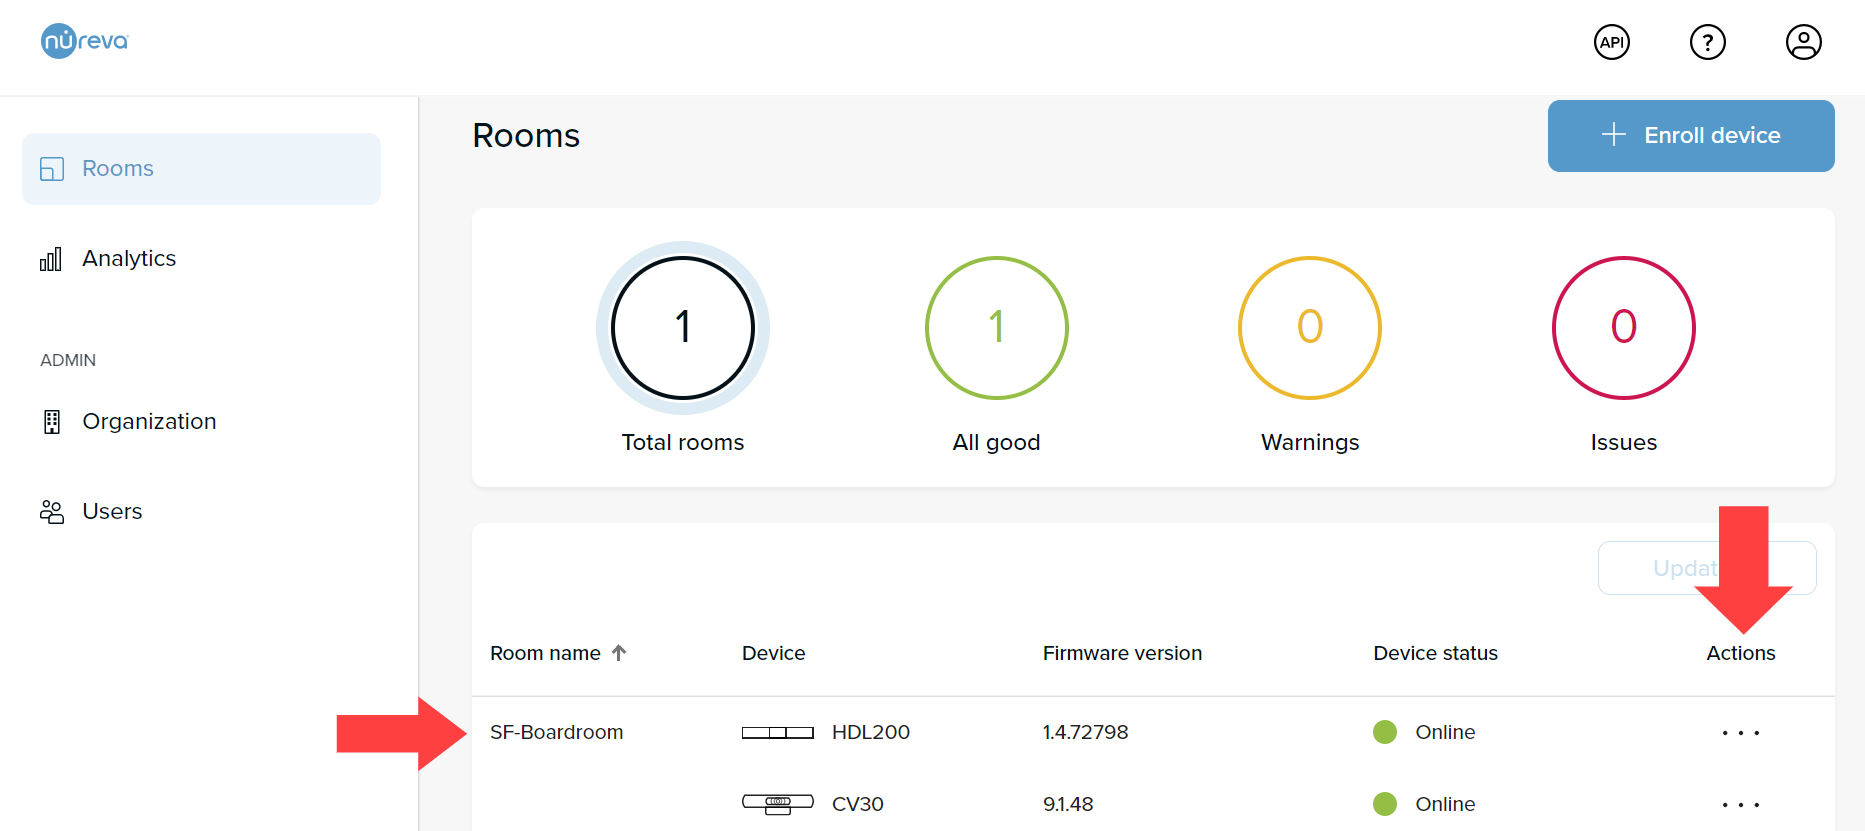
- Locate the Room with the device that you would like to remove from the list and select the three-dot menu next to the device
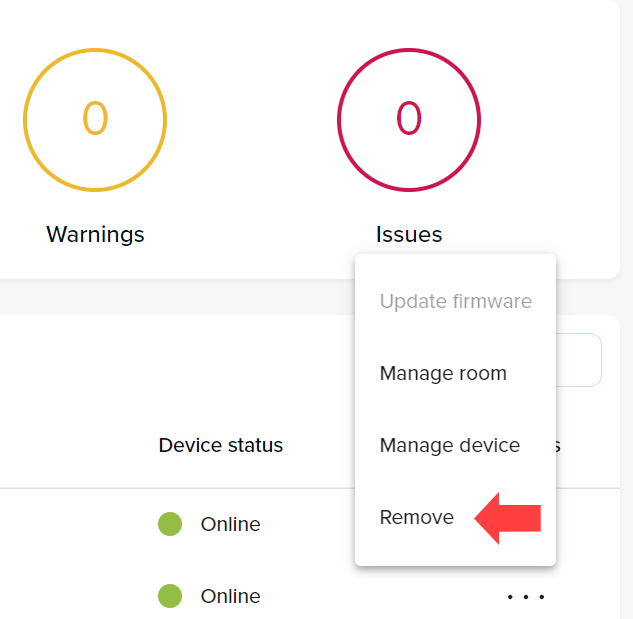
- From the three-dot menu select Remove
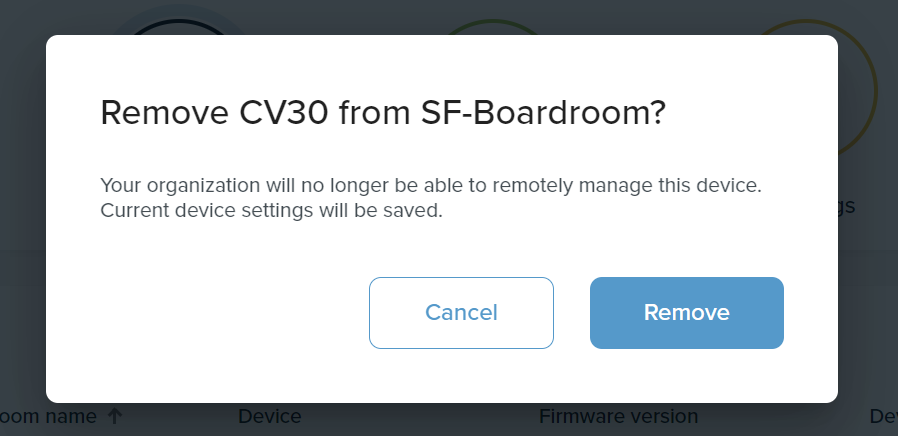
- Click on Remove in the confirmation window
- Please wait for the message indicating that the device has been removed before unplugging the device from the computer or closing Nureva Console

Once these steps are completed, your device will be removed from Nureva Console cloud. If you would like to re-enroll the device in the future, these article provide directions.
If the above steps are not successful for removing the device from Nureva Console cloud, please contact Nureva Support for additional assistance.